*This tutorial is perfect for using up your fabric scraps. 😉
Step 1 : Quilting your fabric
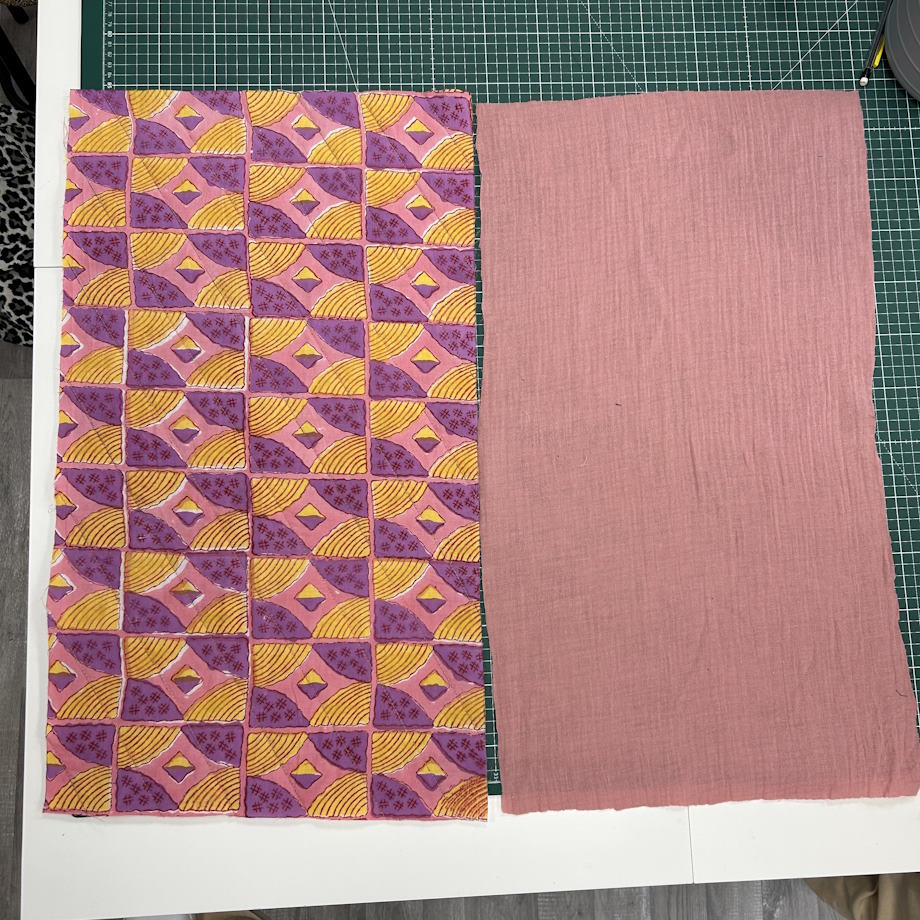
Before you start cutting, it’s time to quilt your outer fabric. Make sure you have enough fabric set aside for:
The outer pocket: 40 x 35 cm (seam allowances included)
The interior pocket: 35 x 20 cm (seam allowances included)
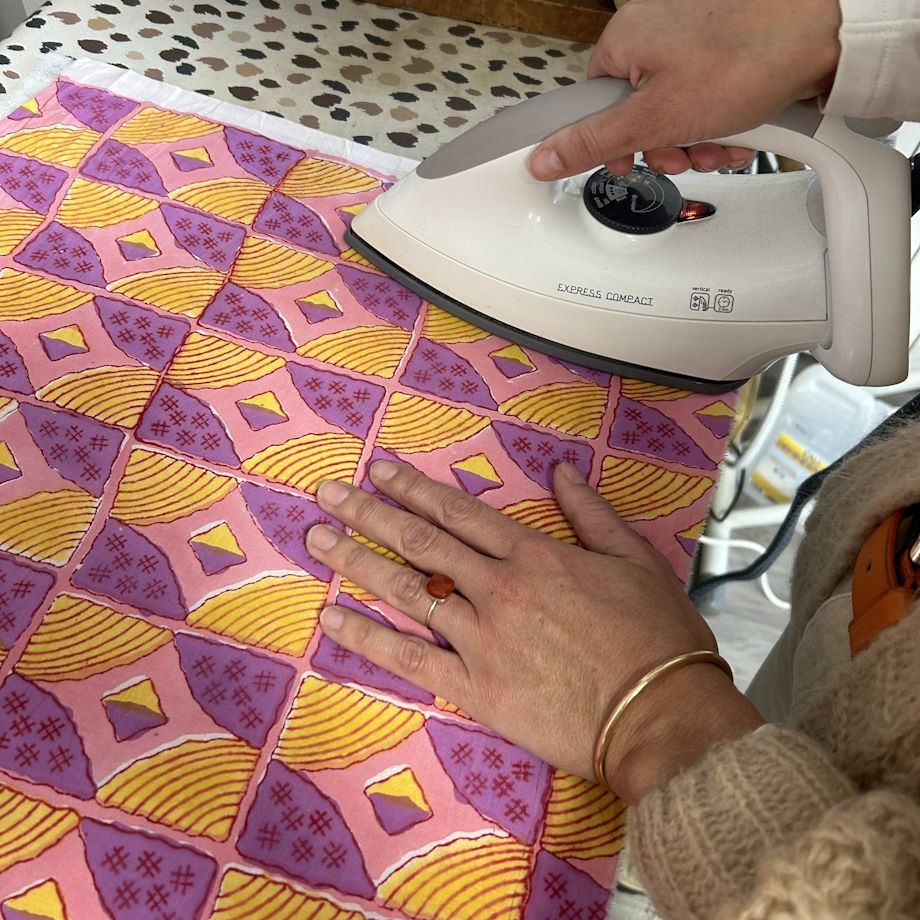
Start by fusing the interfacing to the wrong side of your fabric using an iron.
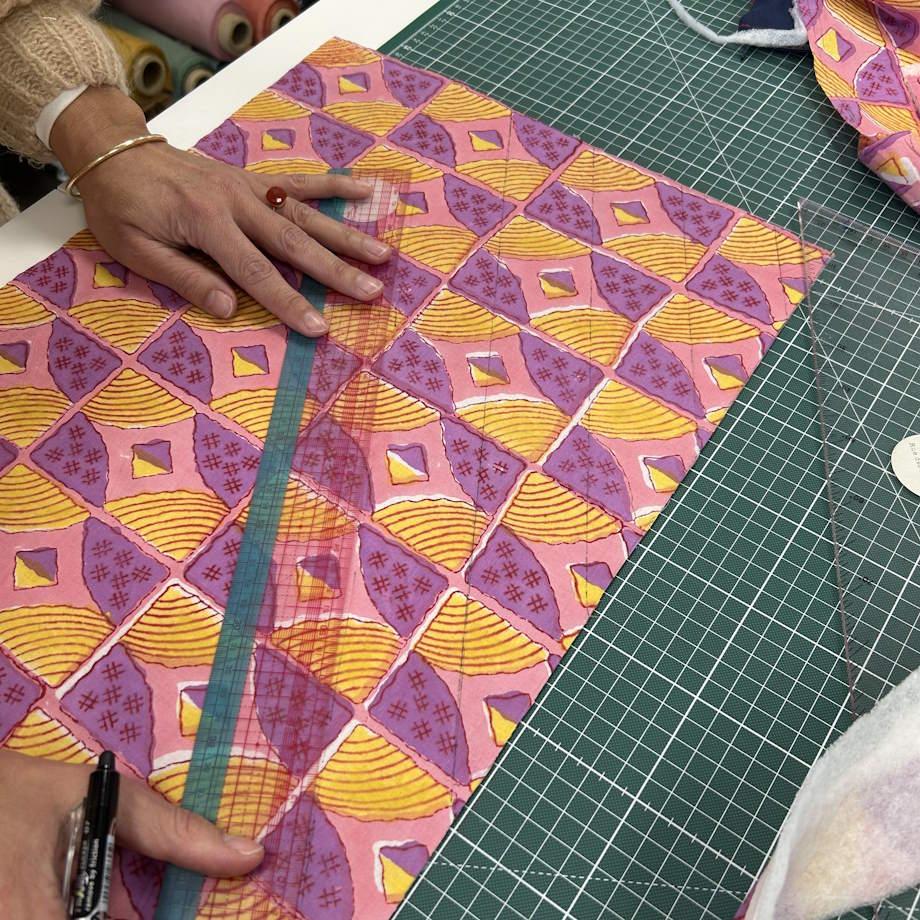
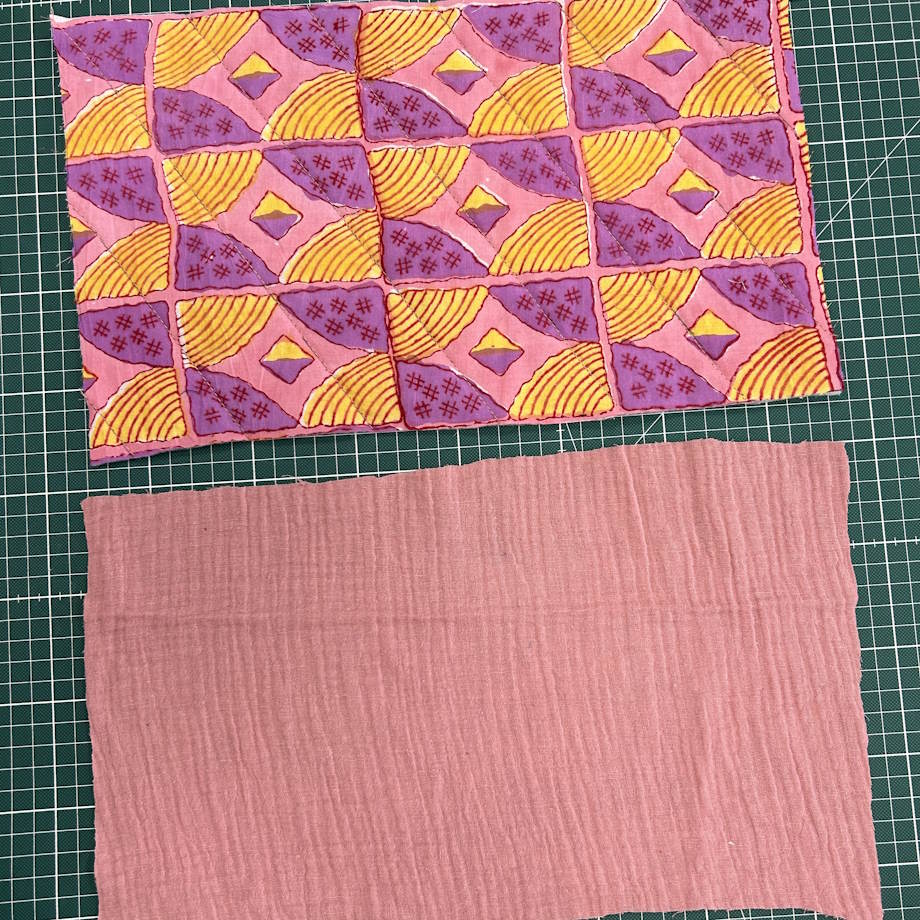
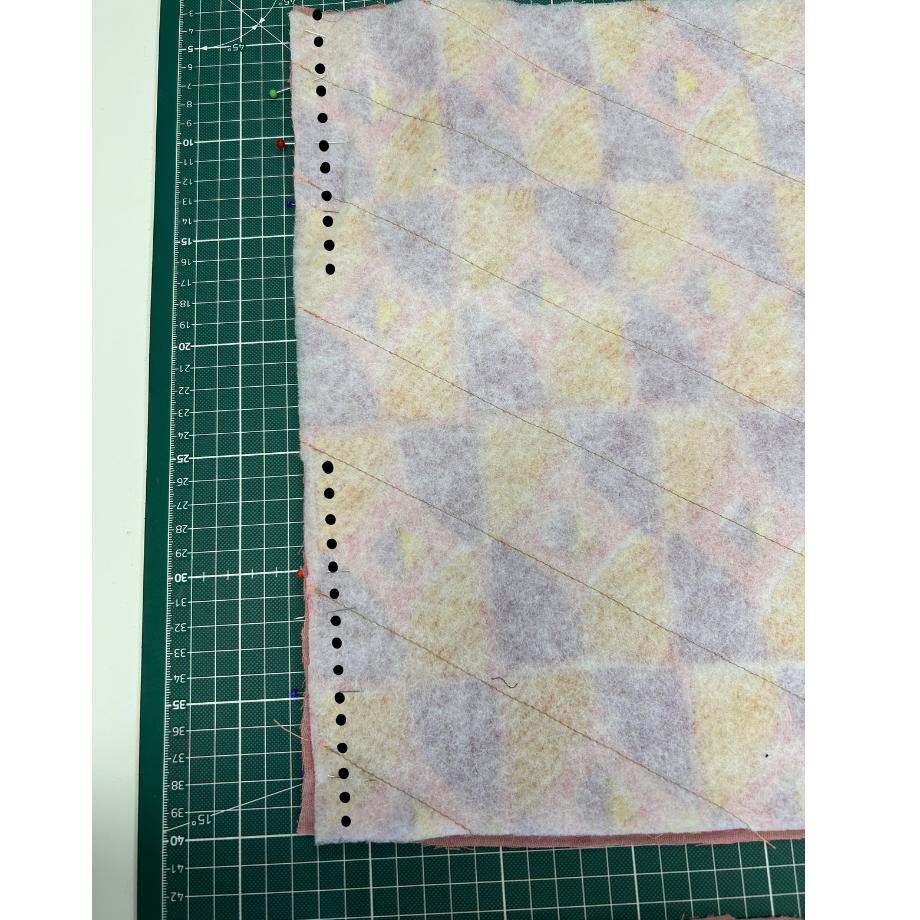
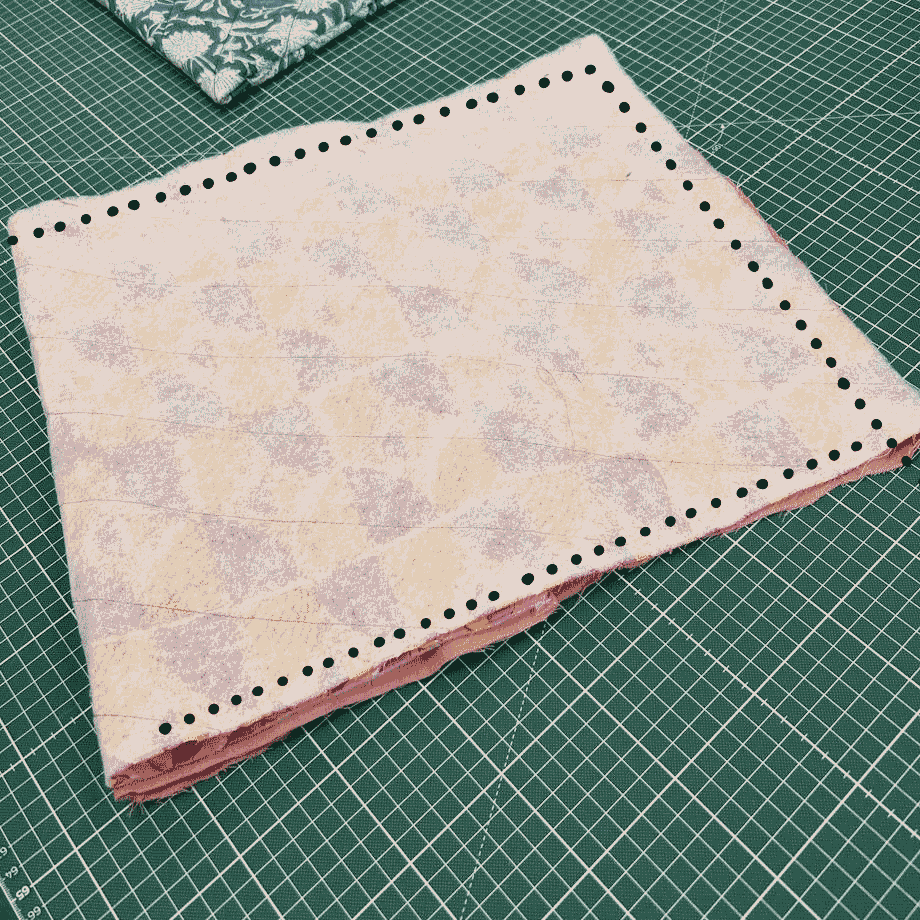
There are two ways to guide your stitching (as shown in the pictures):
1. Draw your lines directly onto the fabric, then pin to keep everything in place.
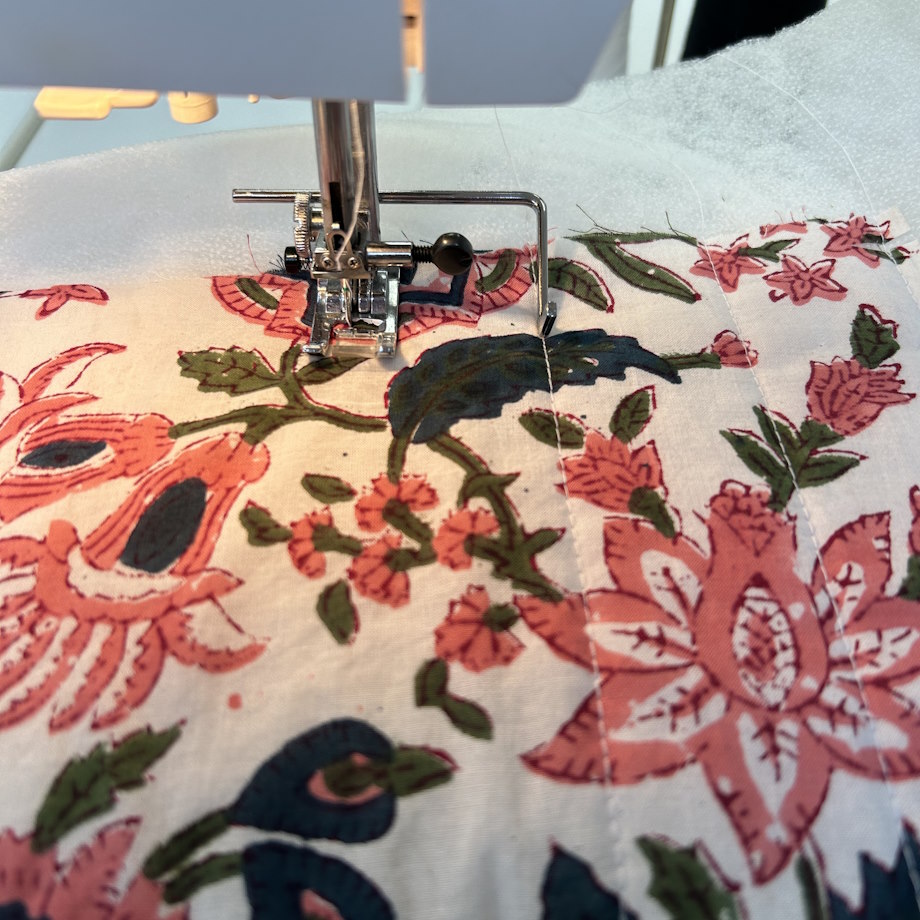
2. Use the quilting guide on your sewing machine to keep your lines evenly spaced.
You can quilt in any pattern you like! Go for classic squares, elegant diamonds, or simple vertical/horizontal lines. This is your chance to give your pouch its own unique style! Play with your thread choice! Use a contrasting color to make the pattern stand out, or a matching shade for a more subtle, sophisticated look.
Pay attention to your stitch length and keep it consistent for a professional finish. Enjoy the process!
Step 2: Cutting the fabric
Once your fabric is quilted, you’re ready to cut! Cut your outer fabric and your lining for both the main body and the inner pocket using the dimensions provided.
Step 3: Creating the pocket
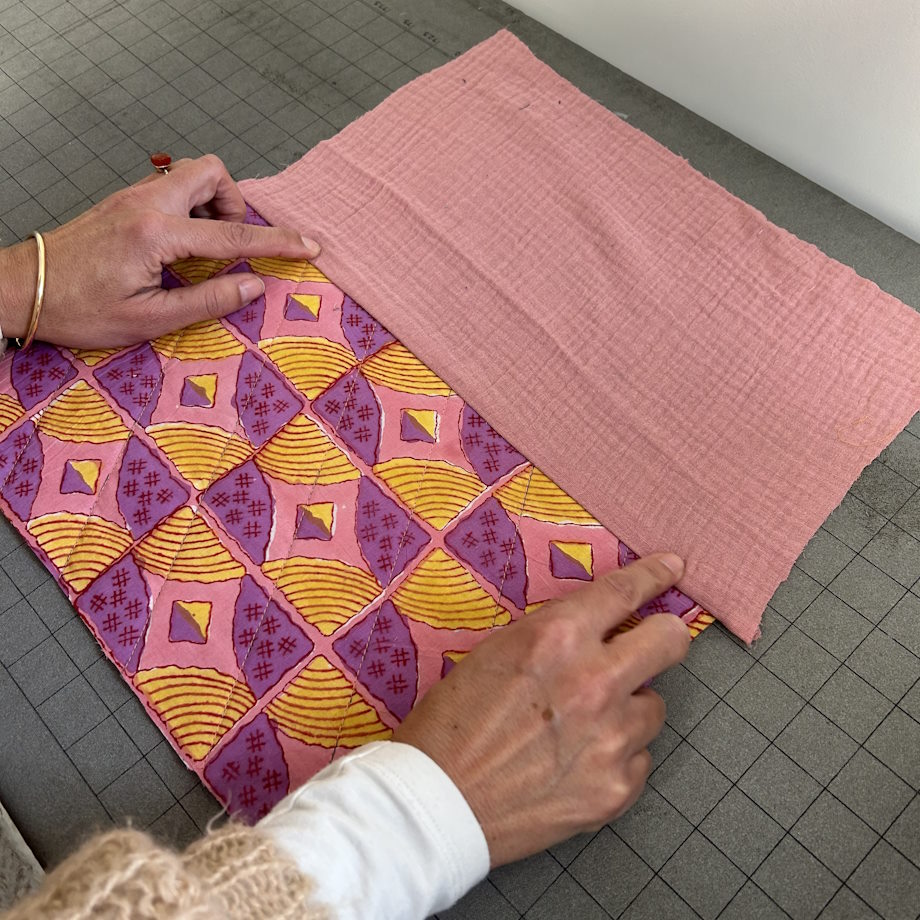
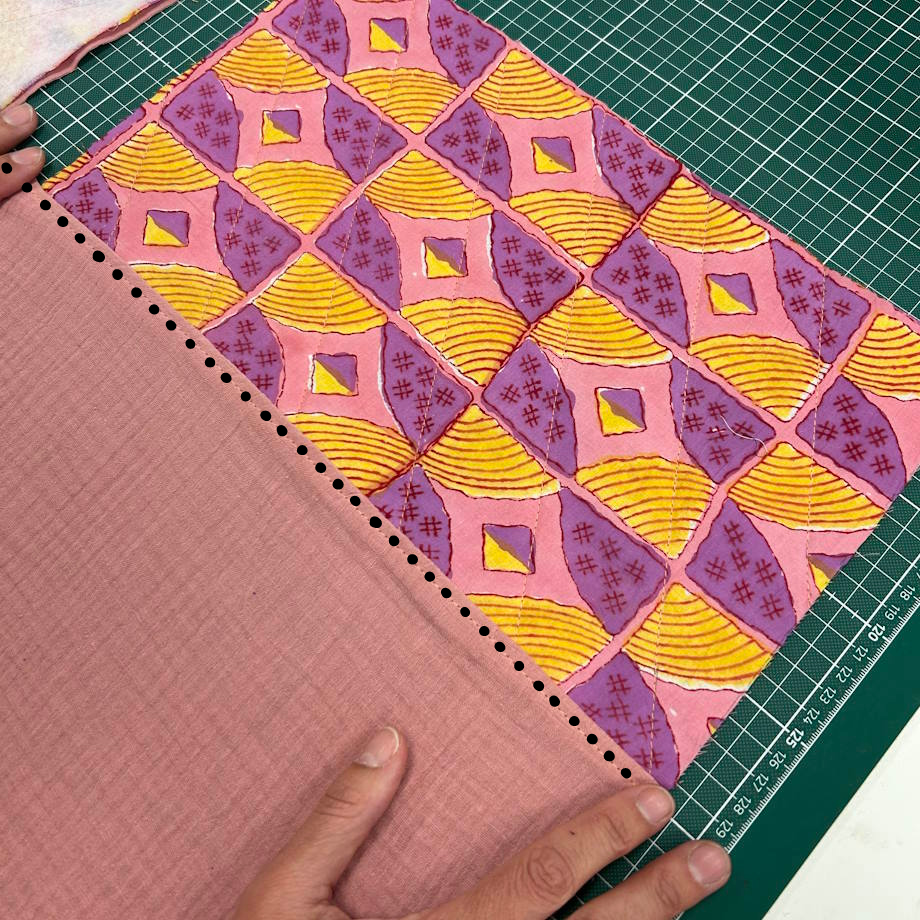
Place the two pocket pieces (the outer fabric and the lining) right sides together. Sew along one of the long edges, this will be the top of your pocket.
Open your work and press the seam allowance toward the lining. Topstitch on the lining side, close to the seam. This helps keep the lining neatly inside and prevents it from showing.
Take your two main pouch pieces and place them right sides together. On one of the short sides, sew two parallel lines of stitching, leaving a small gap between them.
Turn the piece right side out.
Place the right side of your pocket against the lining of the main piece. Position the bottom of the pocket 22 cm below the stitched top edge of the main piece. Then sew it along the bottom edge to attach it.
Flip the pocket upward so the outer fabric is facing you. Topstitch at 1 cm from the edge to secure the seam allowance.
Personal Touch: You can divide the pocket into compartments by adding a vertical line of topstitching wherever you like. We chose to stitch down the centre.
Step 5: Assembling the pouch
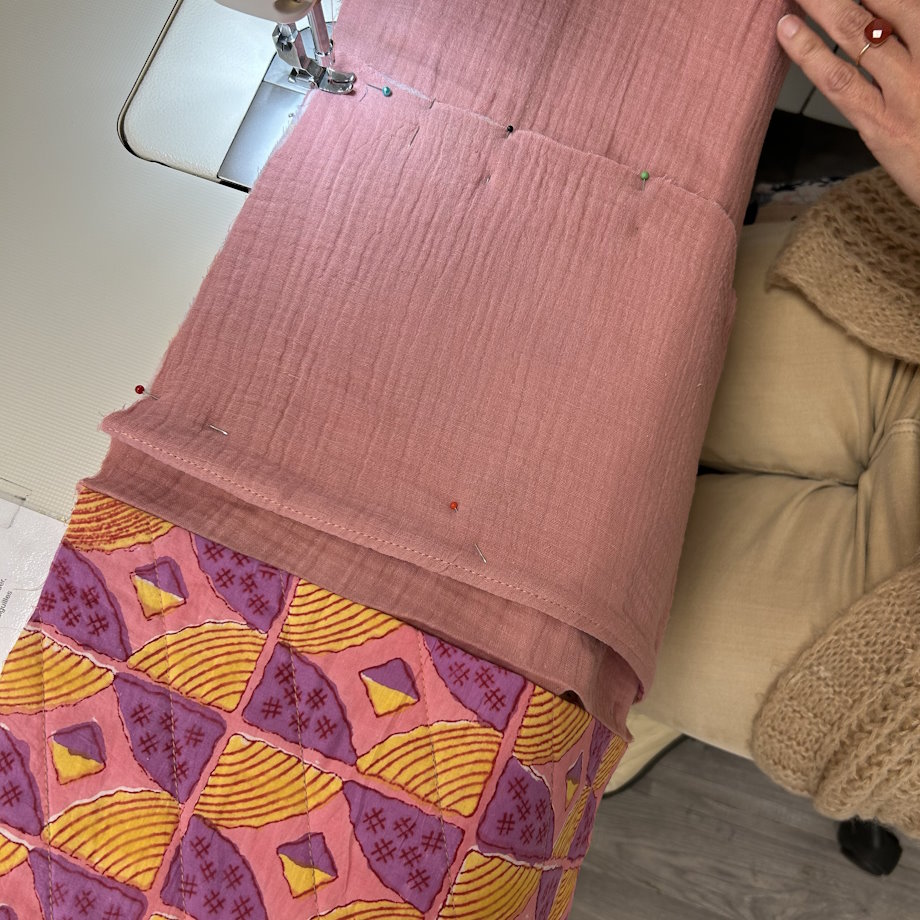
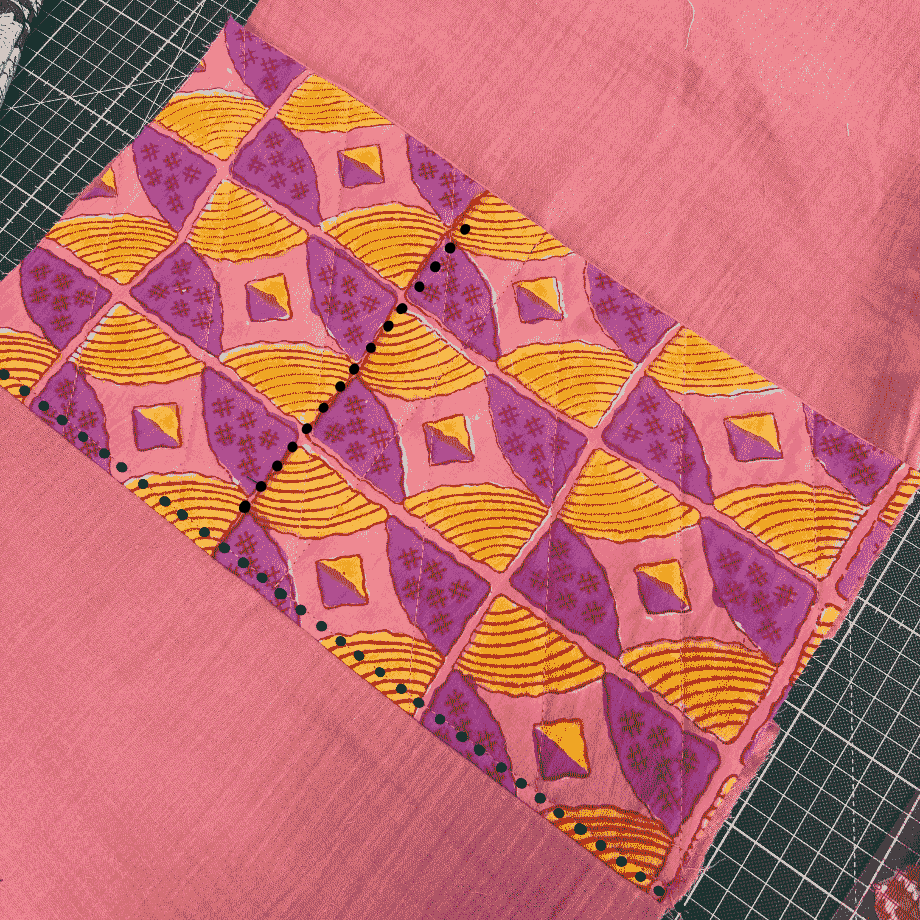
Fold your work into three sections. Make sure the right side of the outer fabric is facing the right side of the lining, with the pocket sandwiched inside.
Stitch along the three open sides, being careful not to sew the main opening closed! It should match the layout shown in the photos.
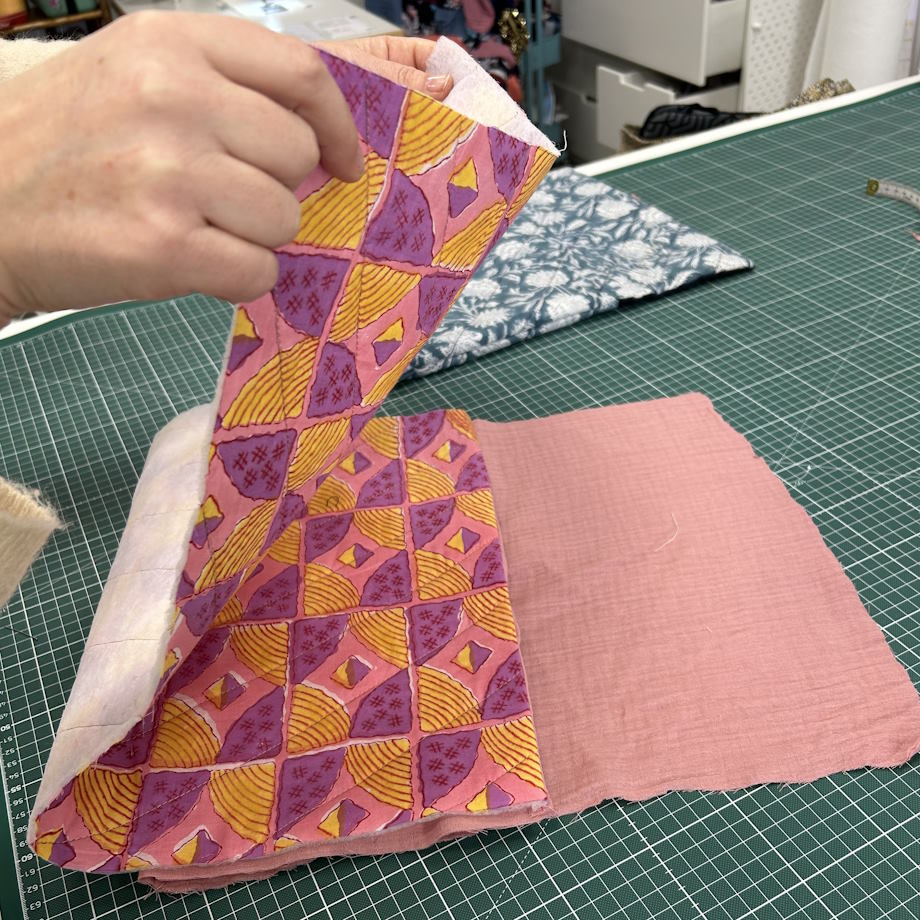
Turn the pouch right side out through the opening left in the previous step.
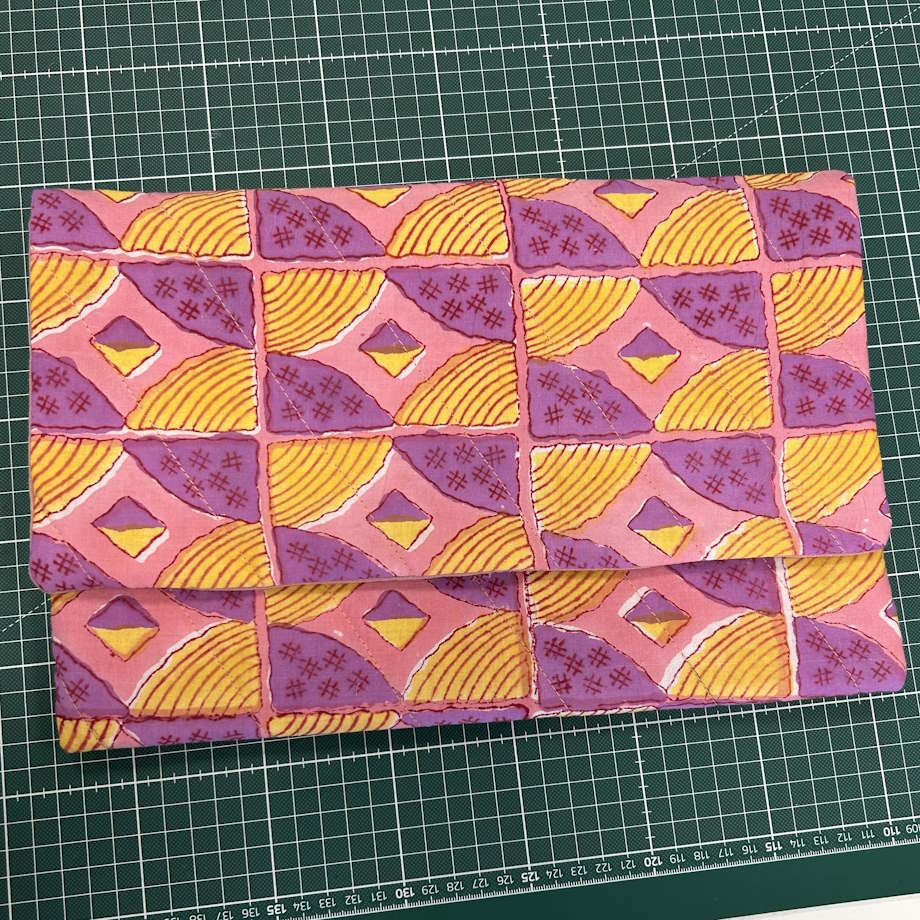
Your pouch should now look like this :
Step 6: The Final Touch
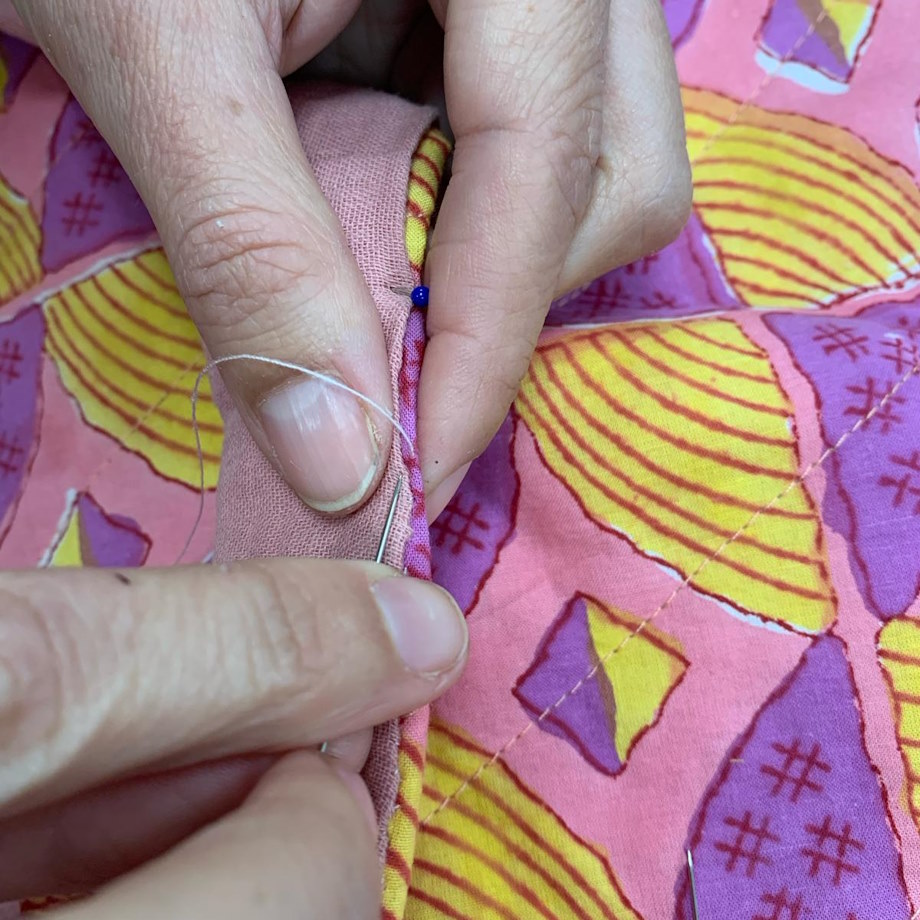
Almost there! Close the opening left in the previous step. You can do this by hand using a invisible stitch for neat finish, or by machine for extra strength.
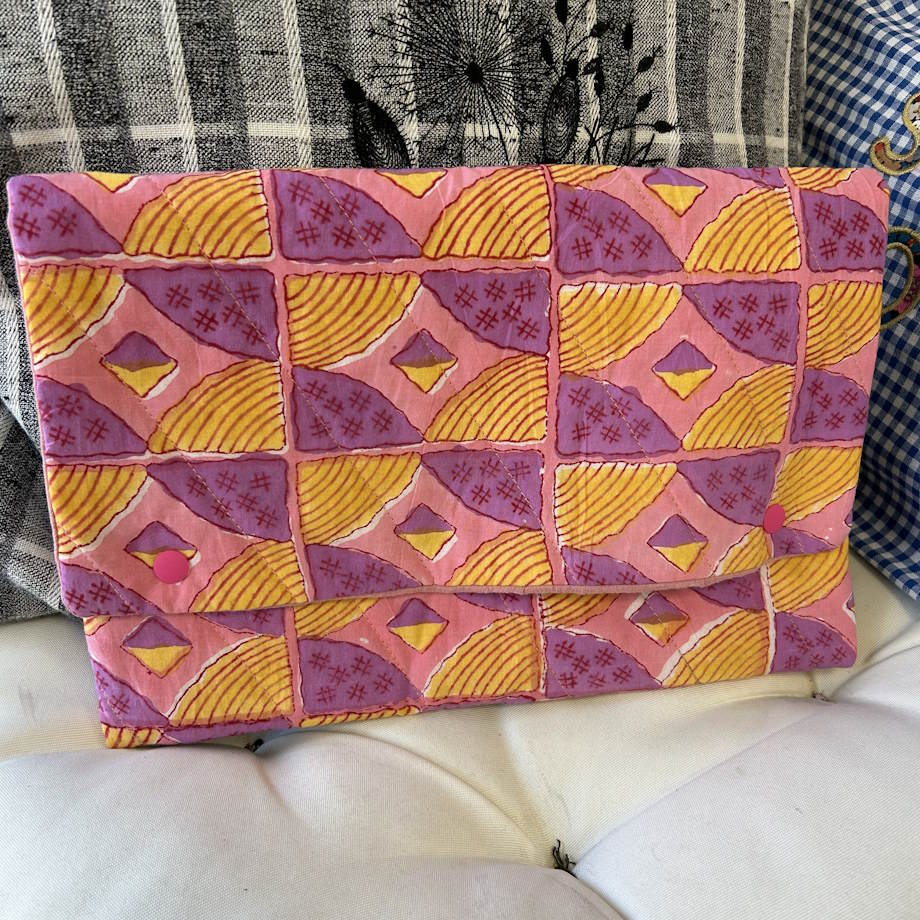
Step 7: Adding the press studs
To finish your pouch, attach the press studs (snaps)! These are available at the Rue des Nuages workshop. If needed, follow the installation guide provided.
And you’re done! Enjoy your beautiful, unique handmade pouch! We’d love to see your creation, feel free to share it on social media and tag us ! 🙂