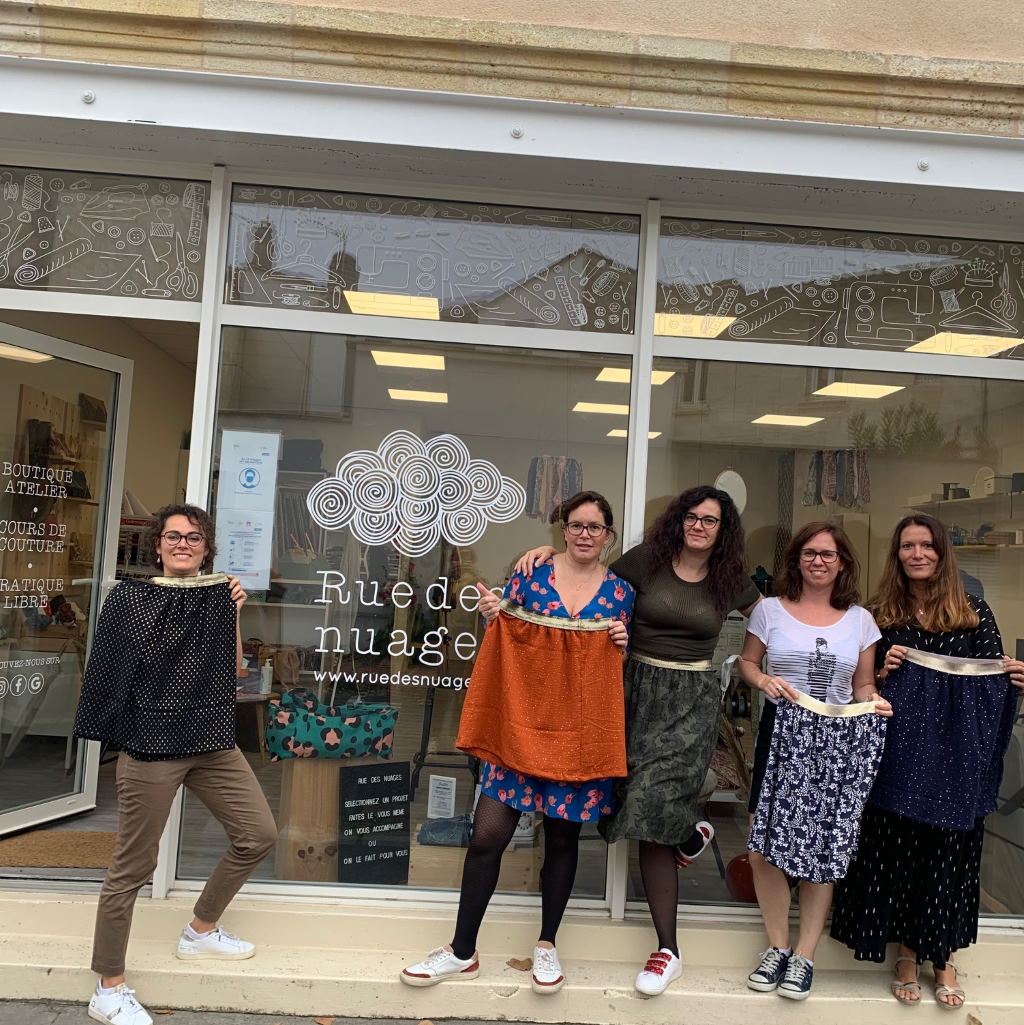
This project is the signature class at Rue des Nuages. It’s the perfect way to dive into sewing and create your very first garment!
Through this project, you’ll master several essential techniques:
French Seams (for a professional inside finish)
Gathering fabric
Attaching an elastic using a zigzag stitch
Sewing a perfect, even hem
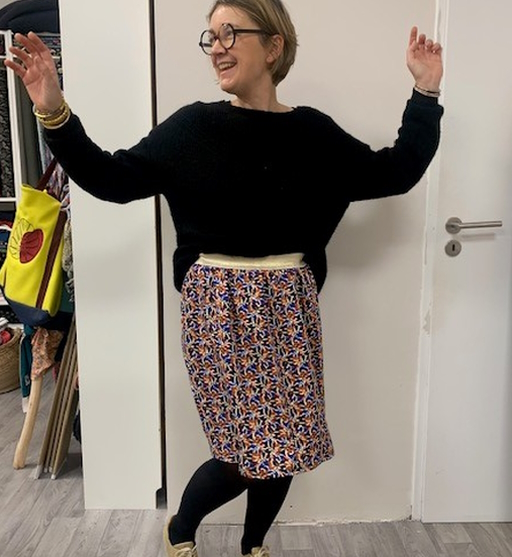
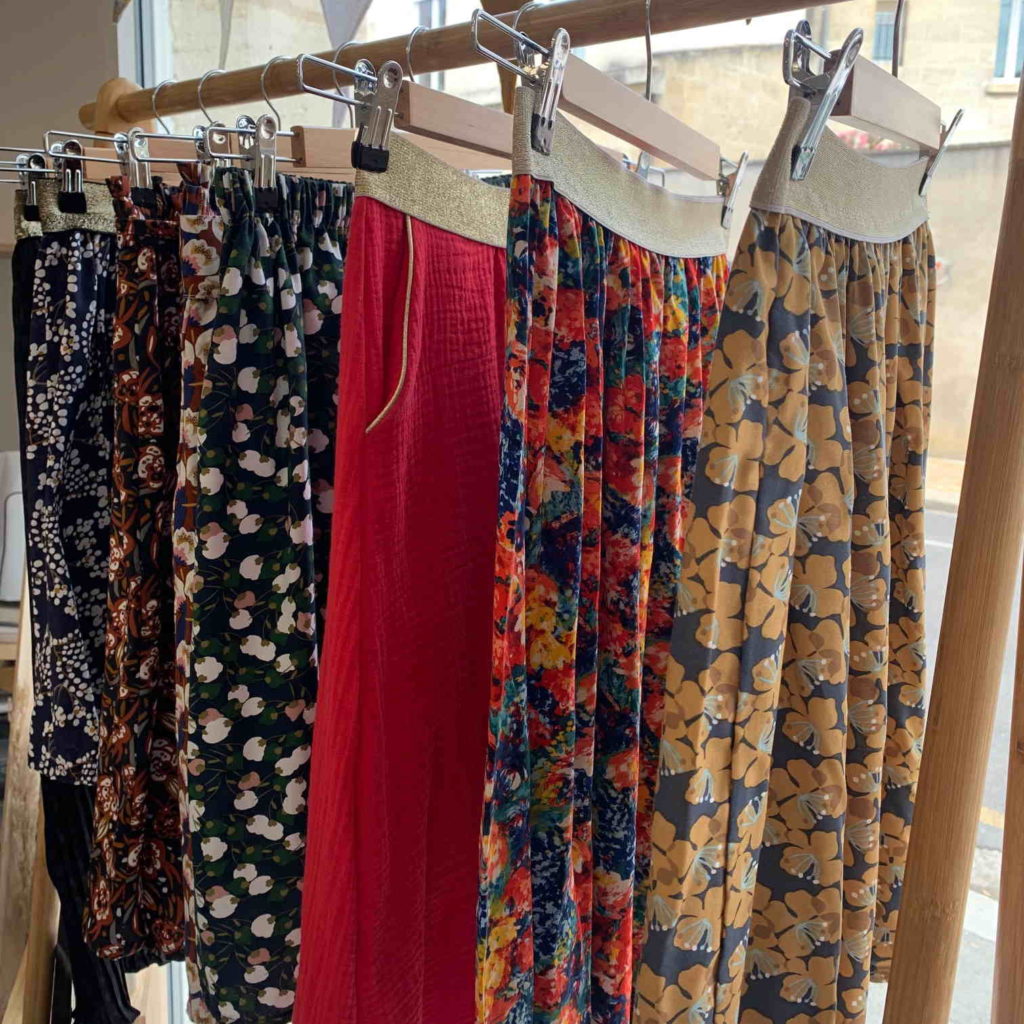
Why we love this skirt: it’s incredibly versatile! You can make it as a mini, midi, or maxi skirt : the choice is entirely yours! Thanks to the French seams, your finishes will be true « haute couture » quality.
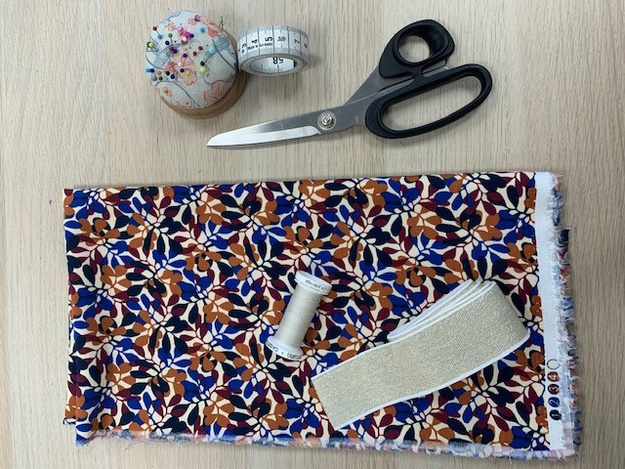
Materials
Fabric: choose a fluid fabric like Viscose, Double Gauze, Lightweight Jersey, or Tencel.
Width: 140 cm (standard selvage-to-selvage width) is perfect for sizes 36 to 44. For sizes 46 and up, use two widths of 100–110 cm.
Length: your desired skirt length. No need to add extra lengt, the elasticated waistband will slightly shorten the finished skirt.
Elastic: 3 to 4 cm wide. The length should match your waist measurement.
A sewing machine with an appropriate needle for your fabric.
Thread: a matching color for the construction and a contrasting color for the gathering stitches.
Fabric scissors, pins, and a measuring tape.
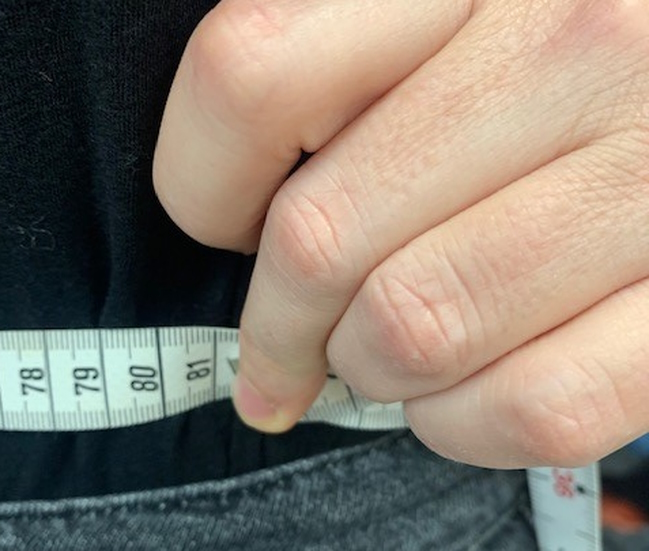
Measuring for the perfect fit
To get the perfect elastic length, measure your waist accurately, you don’t have to add any extra centimeters.
For this project, I chose a beautiful, lightweight viscose with a botanical motif. I cut a 54 cm length for a skirt that falls right at the knee !
I also used a Microtex needle, which is perfect for fluid fabrics like viscose.
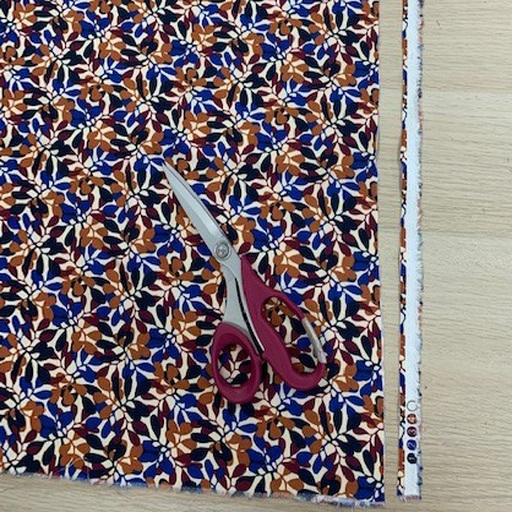
Step 1: Cutting the front and back panels
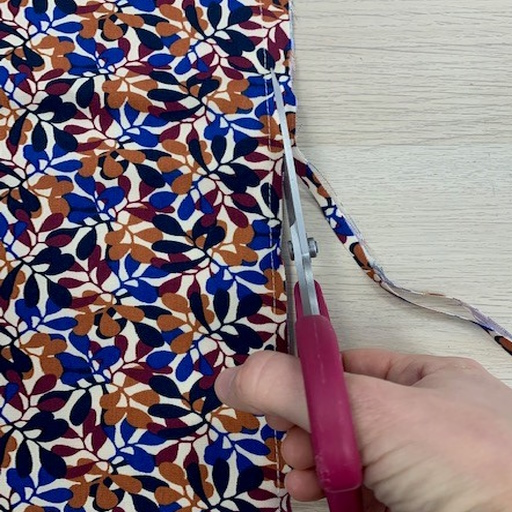
Fold your fabric in half, wrong sides together, matching the selvages (the factory edges).
Cut along the selvages to remove them,
then cut along the fold so you are left with two separate, identical panels.
My Advice: Keep the fabric smooth and taut while cutting to ensure your lines are perfectly straight!
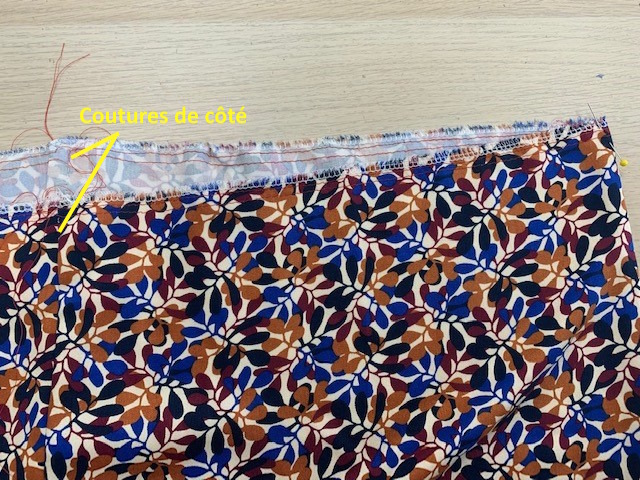
Step 2: The French seams
A French seam is a two-step seam that encloses the raw edges. This creates a delicate, high-end finish that is both beautiful and very durable.
First Pass: Place your two panels wrong sides together. Pin the side edges and sew with a 0.7 cm or 1 cm seam allowance.
Trim the excess fabric (the seam allowance) by half to reduce bulk.
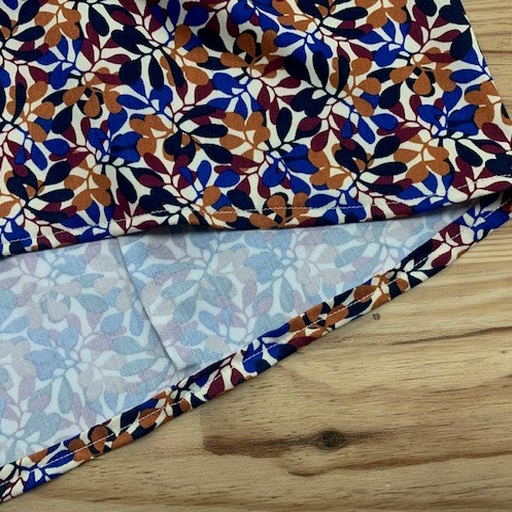
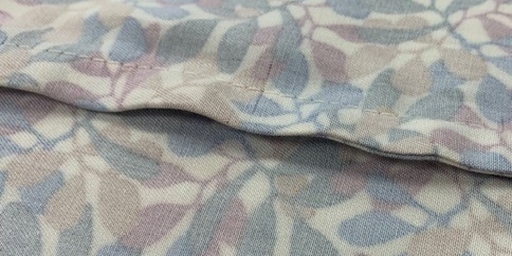
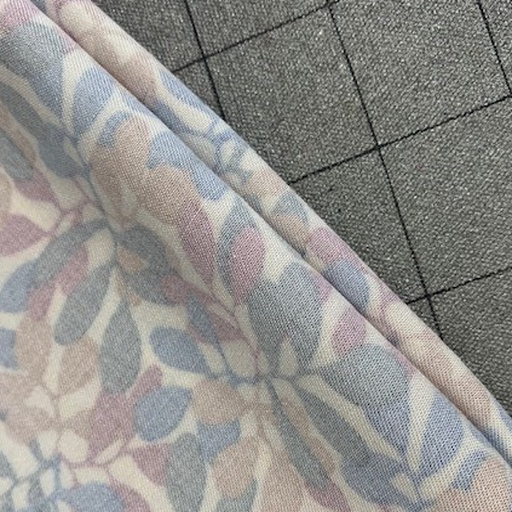
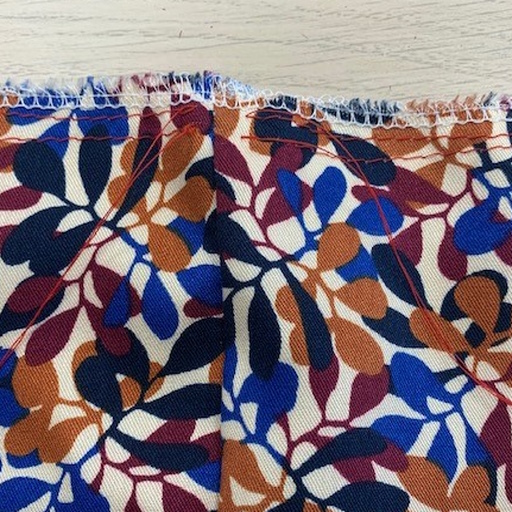
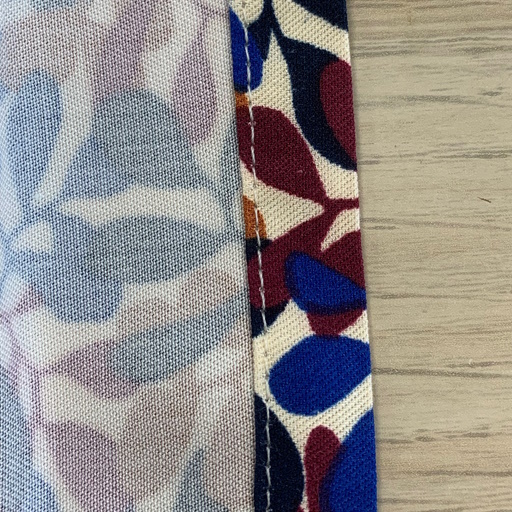
Turn the fabric right sides together and iron the seam flat. Make sure to « roll » the seam between your fingers so it sits right at the very edge.
Before ironing
After ironing
As they say, « A good iron replaces a pin! » You can now sew the sides again without pinning, using the same seam allowance as before. Your French seam is complete!
Step 3: Preparing the waistband
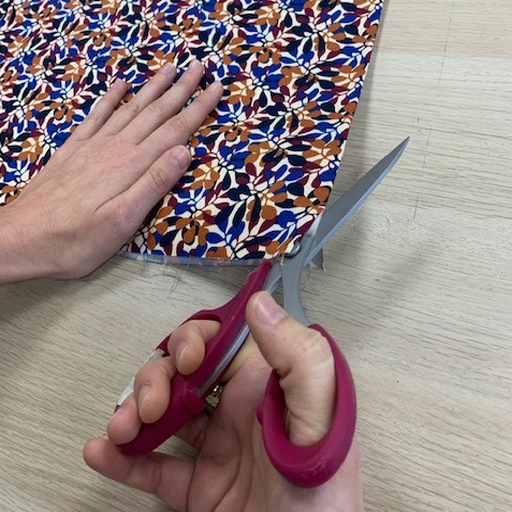
If you have an overlocker, overlock all the way around the top edge of your skirt.
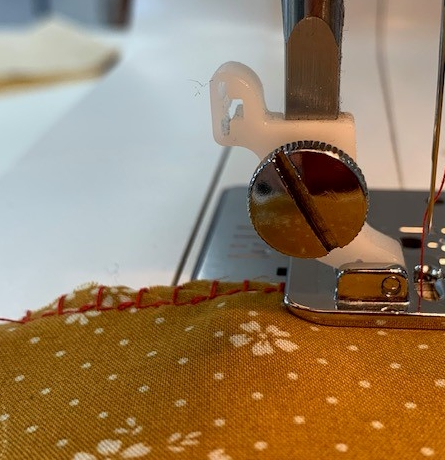
If you only have a sewing machine, you can use an overcasting stitch with a specific overcasting foot.
Select the overcasting stitch on your machine.
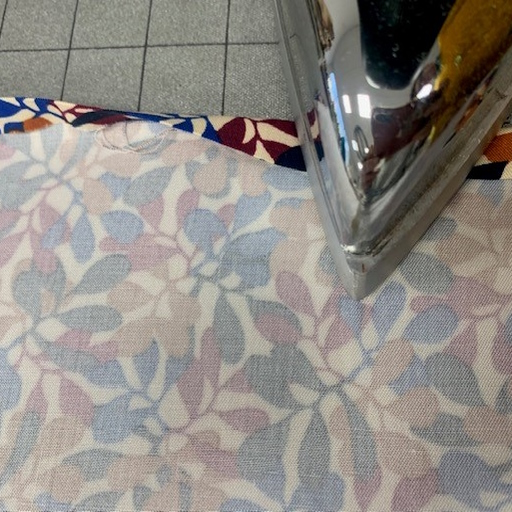
Position the fabric so the stitch runs right along the edge of the fabric (as shown in the photo).
The overcasting stitch gives the fabric a clean edge.
If you don’t have these options, a zigzag stitch works too, but it’s a great opportunity to explore what your machine can do! 🙂
Now, we will add gathering stitches to the top of the skirt. We will sew two rows of straight stitches, but first, we need to adjust the machine settings : set your stitch length to the maximum (usually 4 or 5) and lower your thread tension to about 2.
My advice : Use a contrasting thread for this part! It makes it much easier to see and pull your gathering threads later.
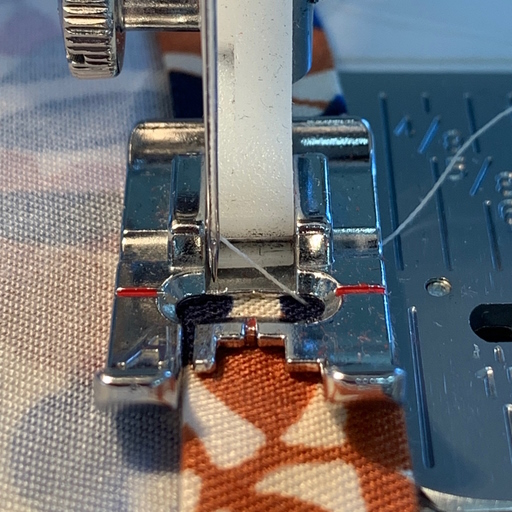
With the right side of the fabric facing you, sew your first row of gathering stitches 1 cm from the edge on the front panel.
Important: Do not use a backstitch at the beginning or end. Leave long thread tails (at least 10 cm).
Sew a second row of stitches between the first row and the overlocked edge. Repeat this for the back panel.
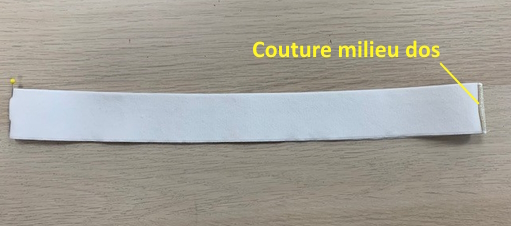
Step 4: Preparing the elastic waistband
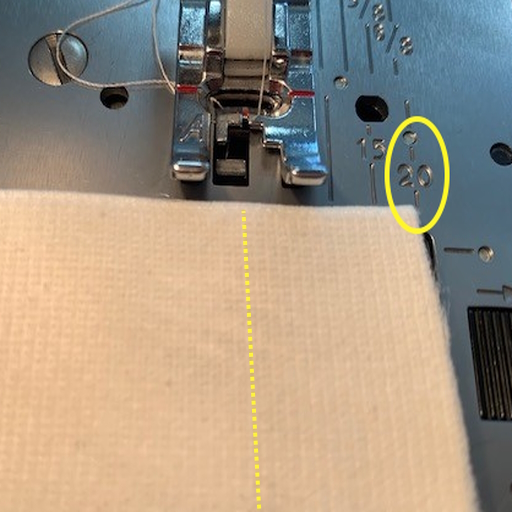
Fold the elastic in half and sew the short ends together with a 2 cm seam allowance.
Pro tip : use the 2 cm mark on your needle plate as a guide!
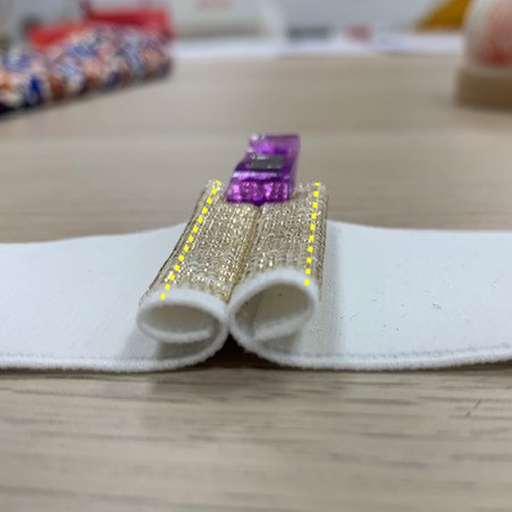
Open the seam allowances, fold the raw edges under, and topstitch them flat against the elastic. This keeps the inside of the waistband smooth and comfortable.
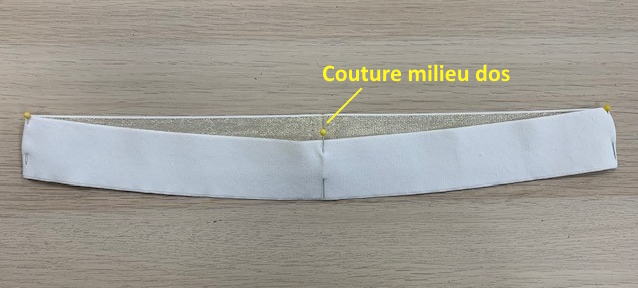
Step 5: Assembling the waistband & gathering
To ensure the gathers are perfectly even, we use the « quartering method »:
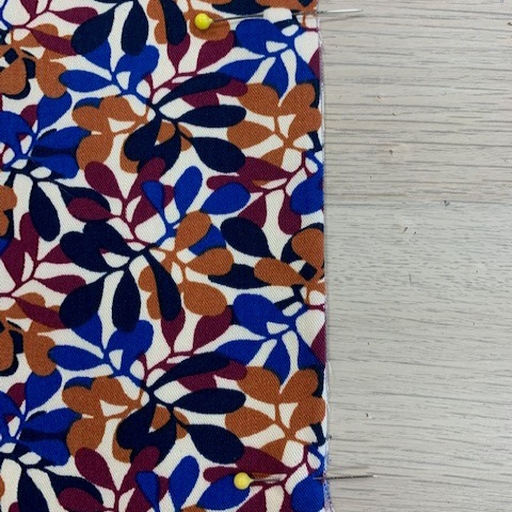
On the skirt: Lay the side seams together to find the center front and center back. Mark these with pins. You now have 4 points (2 side seams + front/back centers).
On the waistband : use the seam as your center back marker, then fold it in half to find and mark the centre front
then bring the centre front and centre back together to mark the two side points.
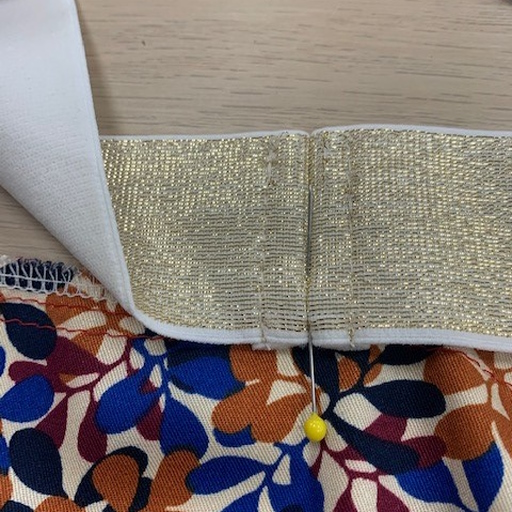
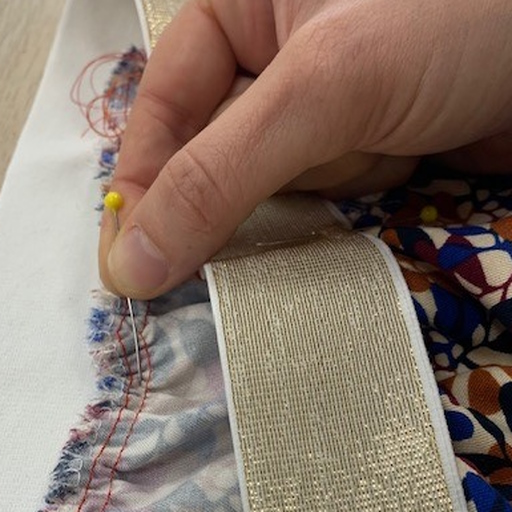
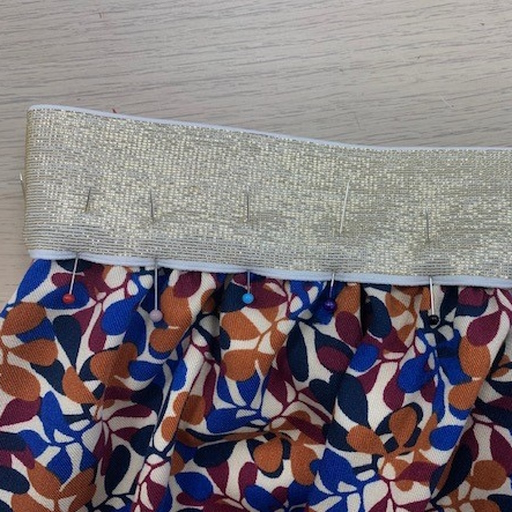
Match the 4 pins on the waistband to the 4 pins on the skirt. Make sure the bottom edge of the waistband lines up with the lower row of gathering stitches.
From the wrong side, gently pull the bobbin threads to create gathers. Adjust the fabric until each quarter of the skirt fits perfectly into each quarter of the waistband. Pro tip: Use your fingers or the tip of a needle to slide the gathers until they look harmonious and even. Pin every 2 cm.
Once the gathers are evenly distributed, pin all around the waistband at 2cm intervals, making sure the skirt is attached to the right side of the elastic.
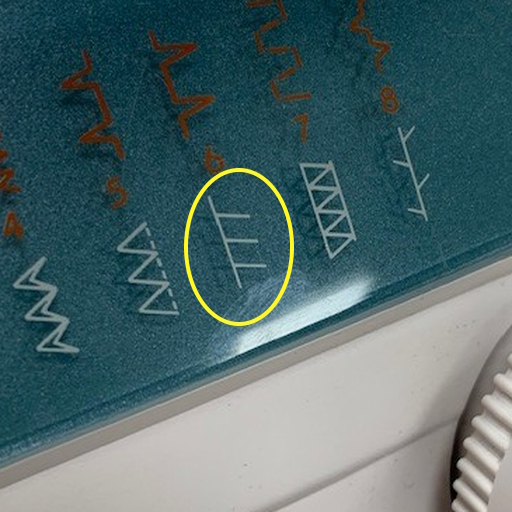
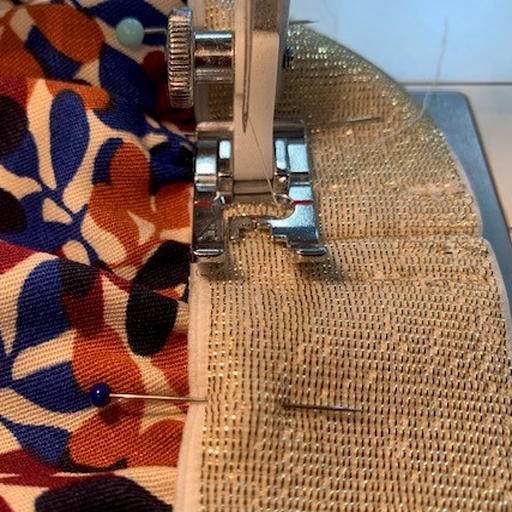
Stitch it down using a 3-step zigzag stitch (this is stronger and more elastic than a standard zigzag), sew the elastic to the skirt.
Machine settings : width : 5, length : 1.5.
Once finished, gently pull out your contrasting gathering threads.
Step 6: Finishing the hem
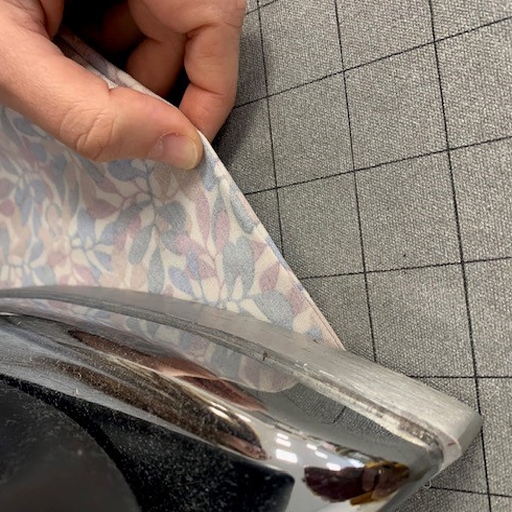
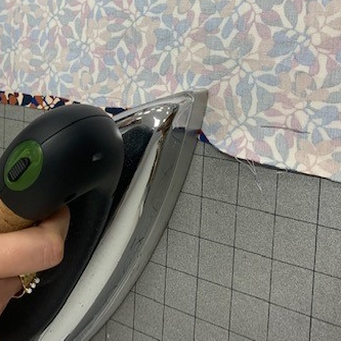
To create a perfectly regular hem, preparation is key! On the wrong side, mark a reference line 2 cm from the bottom all around the skirt.
Fold the edge up to the line, then fold it again to hide the raw edge. Iron the fold to set it
First mark at 2cm
Second fold
Then topstitch (about 2 mm from the edge) to finish.
Congratulations, your made-to-measure elasticated skirt is ready to wear!
Have you just finished the made-to-measure elasticated skirt tutorial? We’d love to see your creation, feel free to share it on social media and tag us @ruedesnuages!
Would you like some guidance with this project? You can join a sewing class at Rue des Nuages, we’d be delighted to welcome you!
Prefer to order instead? All the products available in my e-shop are lovingly handmade in my workshop in Bordeaux Bastide.