Today we’re delighted to offer you a free sewing pattern for our Boho bag, the ultimate catch-all bag!
It’s a must-have for anyone who loves to combine style and comfort. With its relaxed shape and generous volume, this bag is designed to follow you everywhere, from a day in the city to a weekend getaway.
Materials
60 cm for the outer fabric: hessian, denim, linen, cotton, wool—anything goes, just have fun!
60 cm for the lining: it should be softer and more flexible than the outer fabric.
Using the pattern, cut 2 pieces from the outer fabric and 2 pieces from the lining. Seam allowances of 1 cm are included in the pattern.
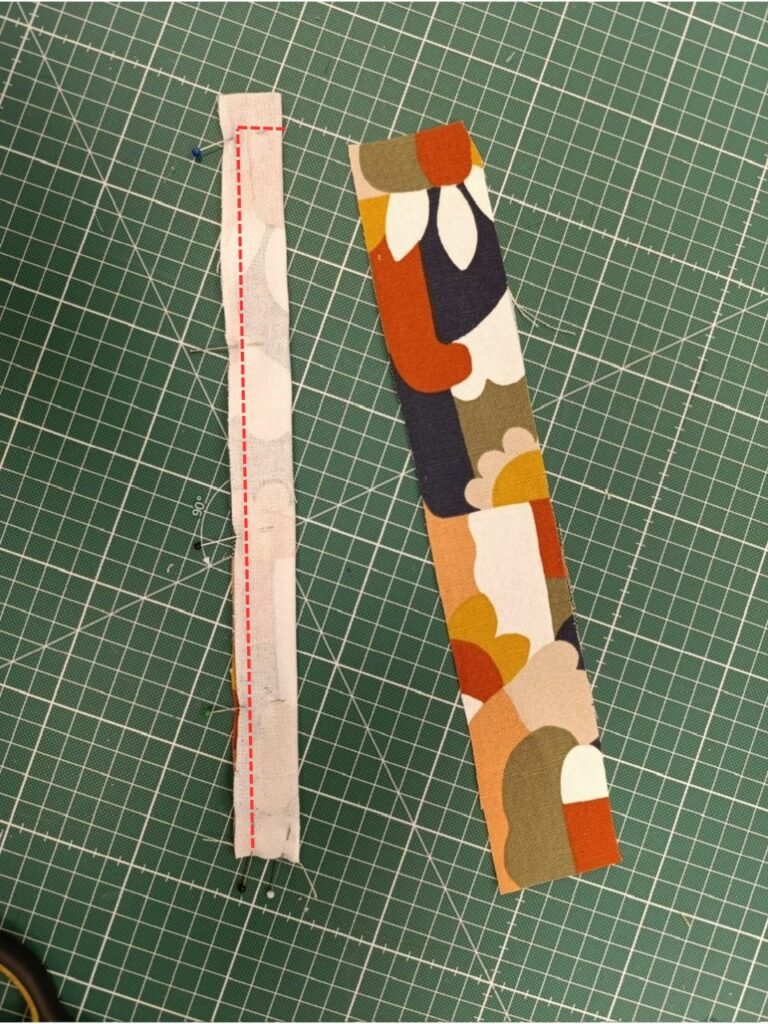
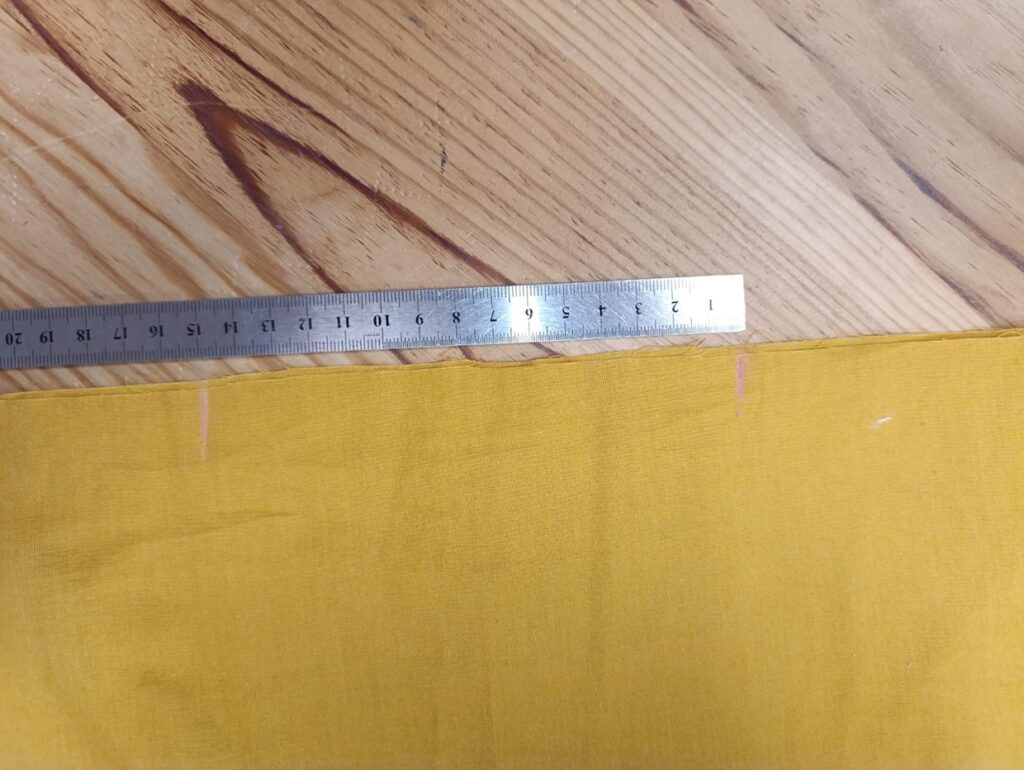
Cut 2 fabric strips measuring 30 × 5 cm each for the tie top.
Step 1: Preparing the ties
Fold each tie in half, right sides together.
Stitch along one short side and the long side.
Trim the corner and turn right side out.
Press.
Step 2: Attaching the ties
Place each tie on the right side of the lining, aligning it with the notches marked on the pattern.
Stitch in place 5 mm from the edge.
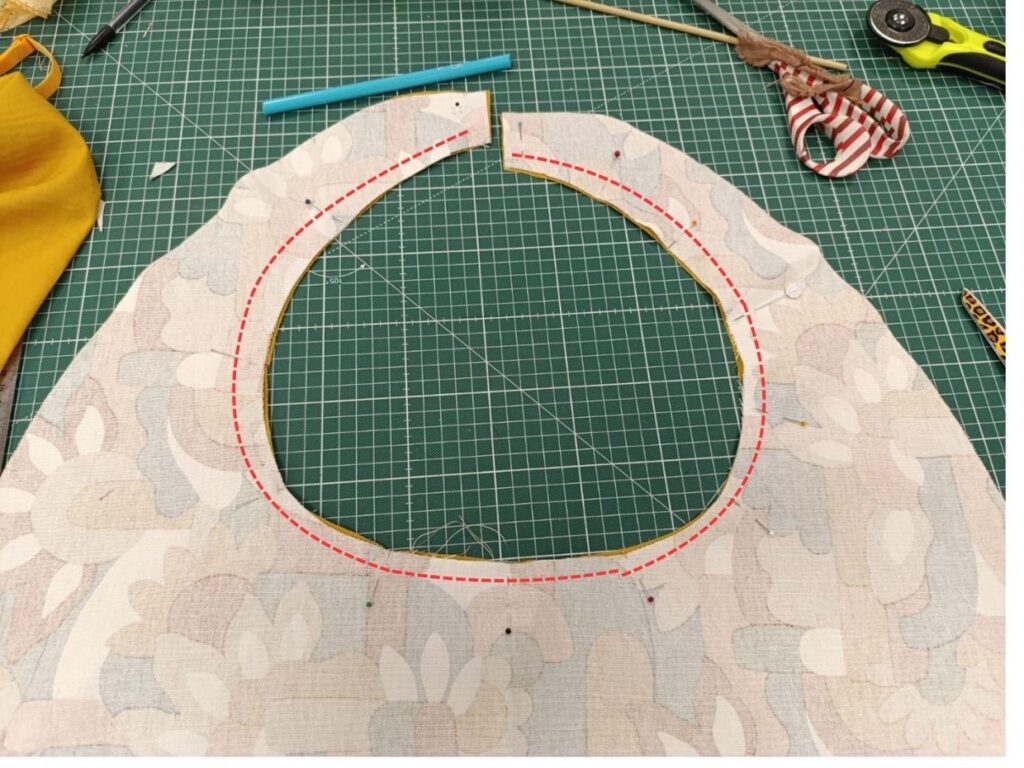
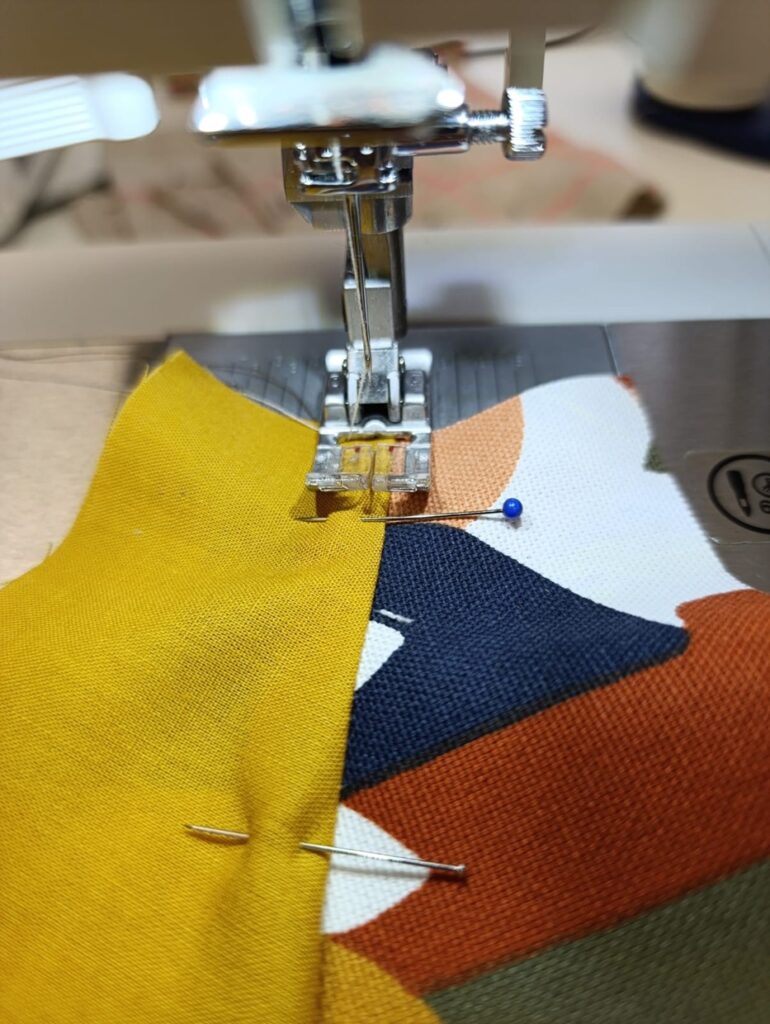
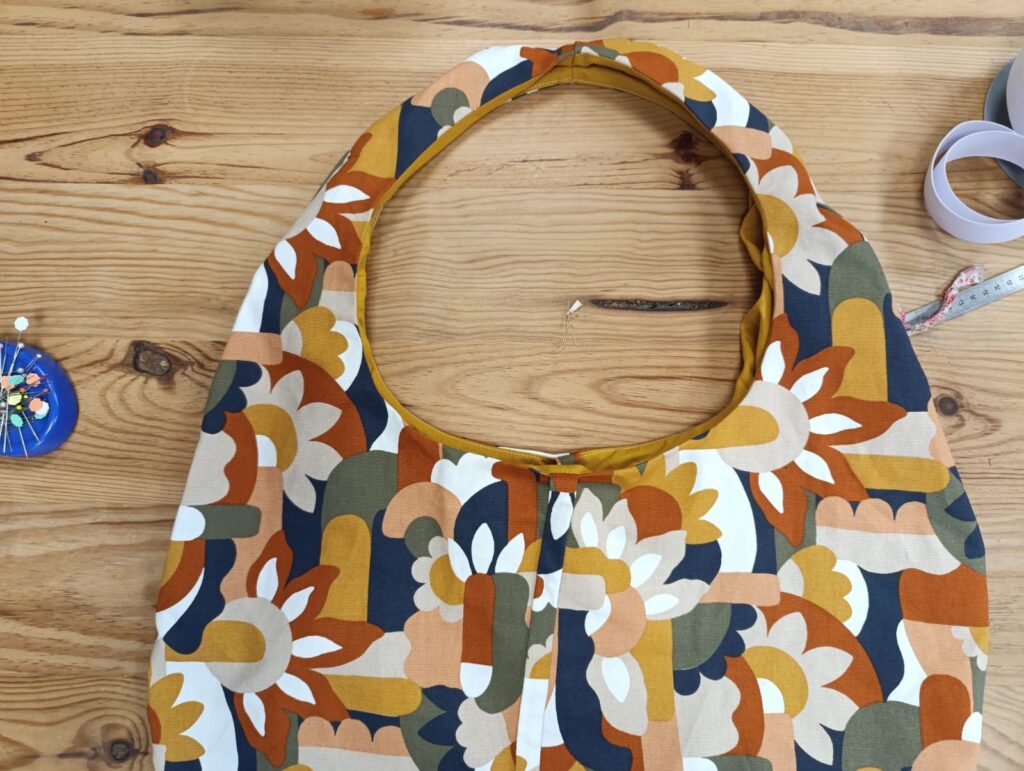
Step 3 : Sewing the handle
Place one piece of outer fabric and one piece of lining right sides together, with the tie sandwiched between the two layers.
Stitch along the inner edge of the handle with a 1 cm seam allowance.
Then, topstitch to help keep the lining in place.
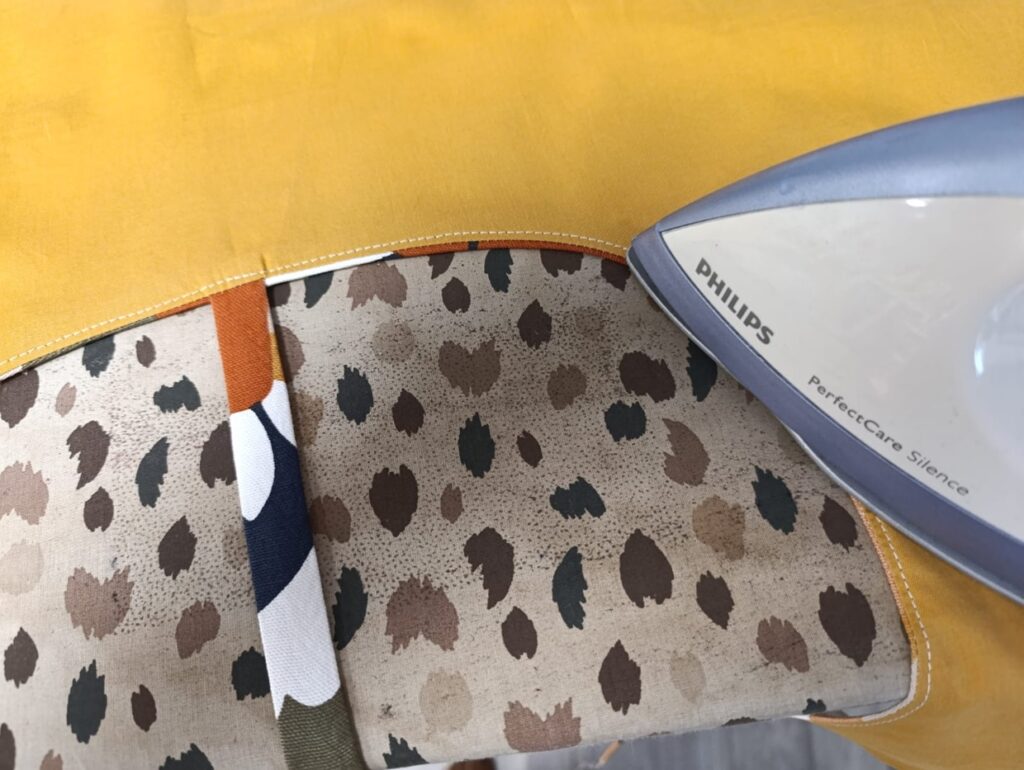
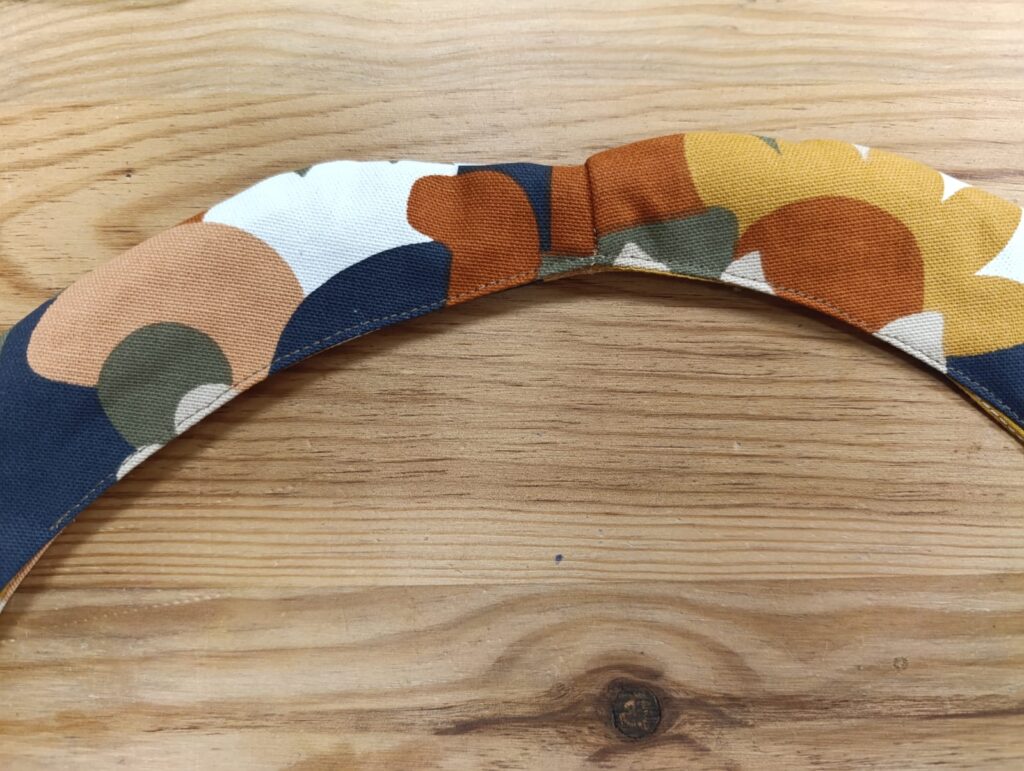
Separate the two layers of fabric. Press the seam allowance toward the lining and stitch to secure it in place.
Topstitch 5 mm from the edge.
Make sure the tie is facing the outer fabric side.
Press the seam.
At the end of this step, you have finished sewing both sides of the bag.
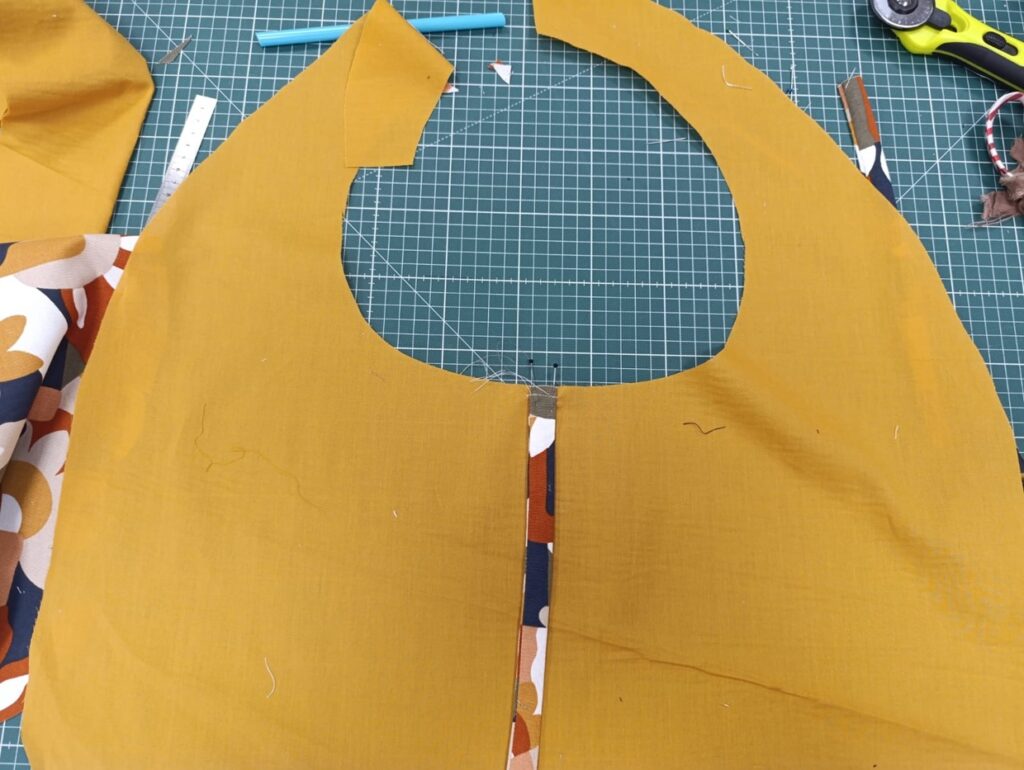
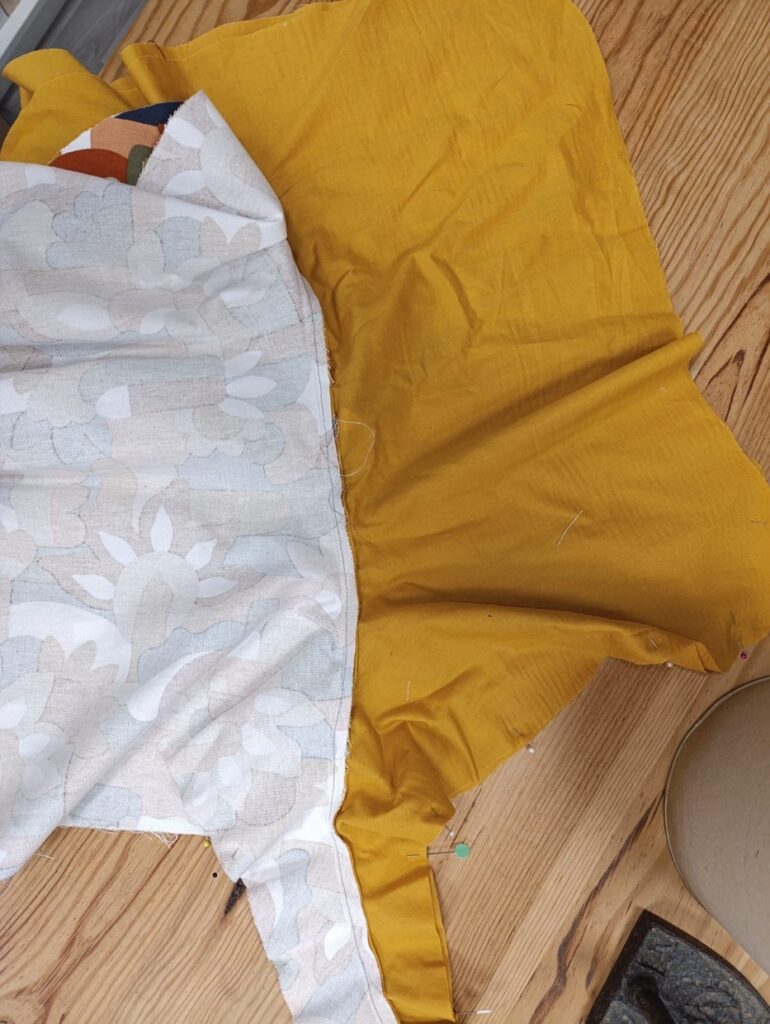
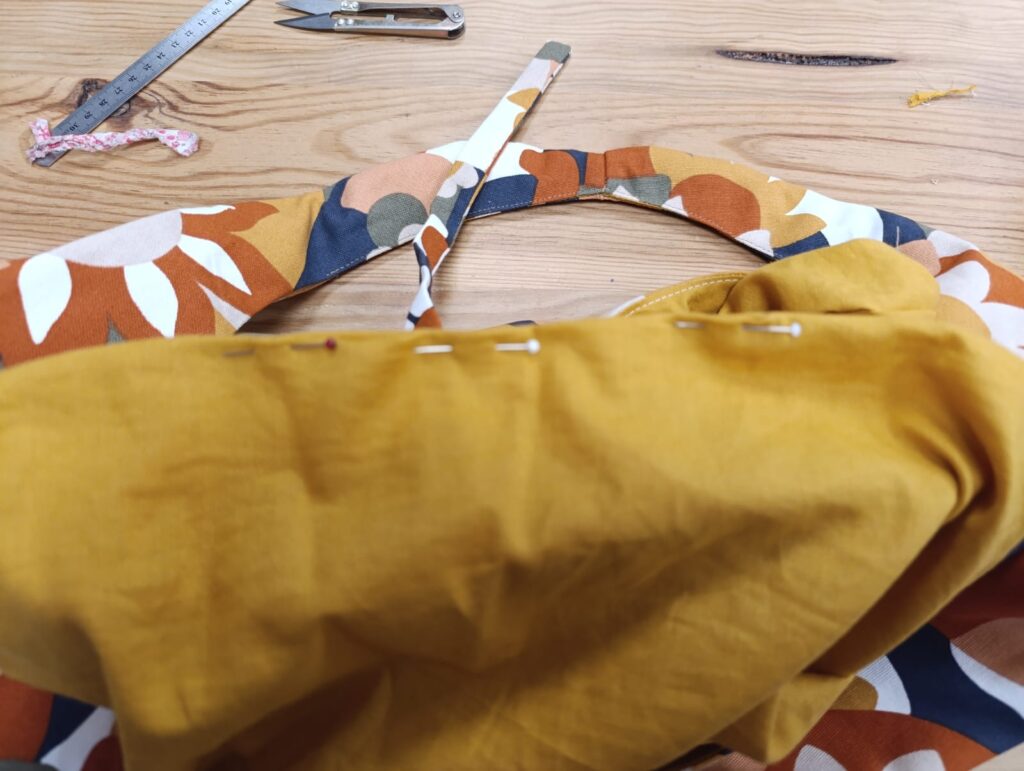
Step 4 : Final assembly
Bring the two parts of the bag together.
Place them right sides together, matching lining to lining and outer fabric to outer fabric.
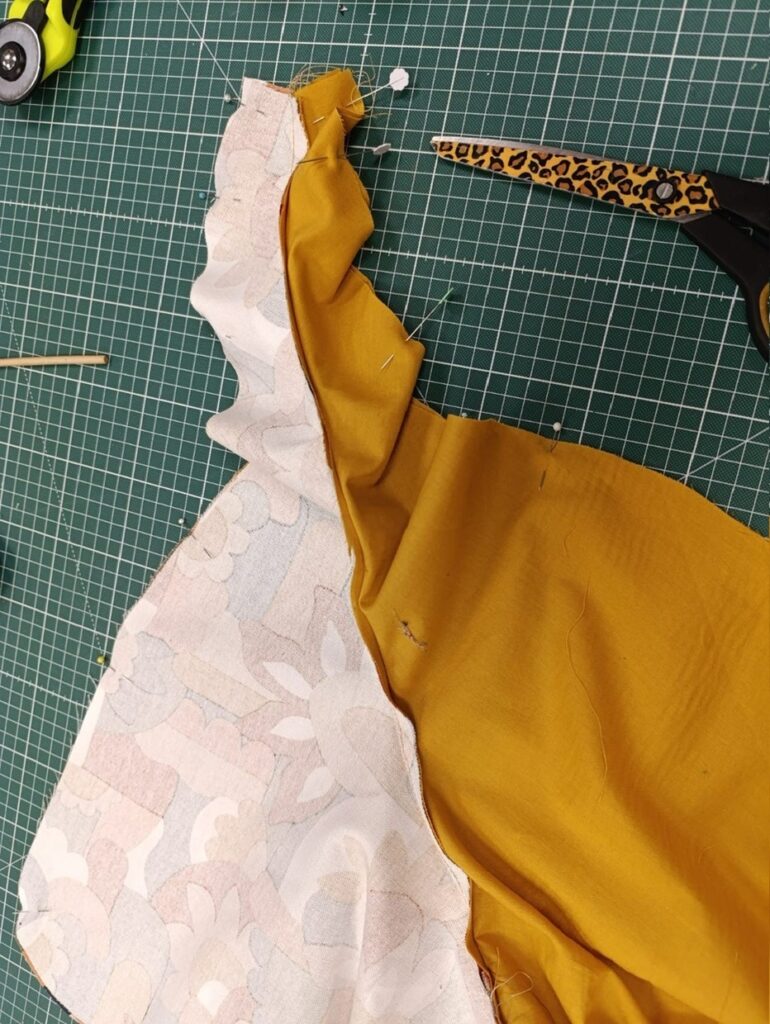
Pin, then stitch all around the outer edge of the bag.
Make sure to leave an opening at the bottom of the lining.
Do not sew across the top of the handles.
Step 5: Closing of the handles
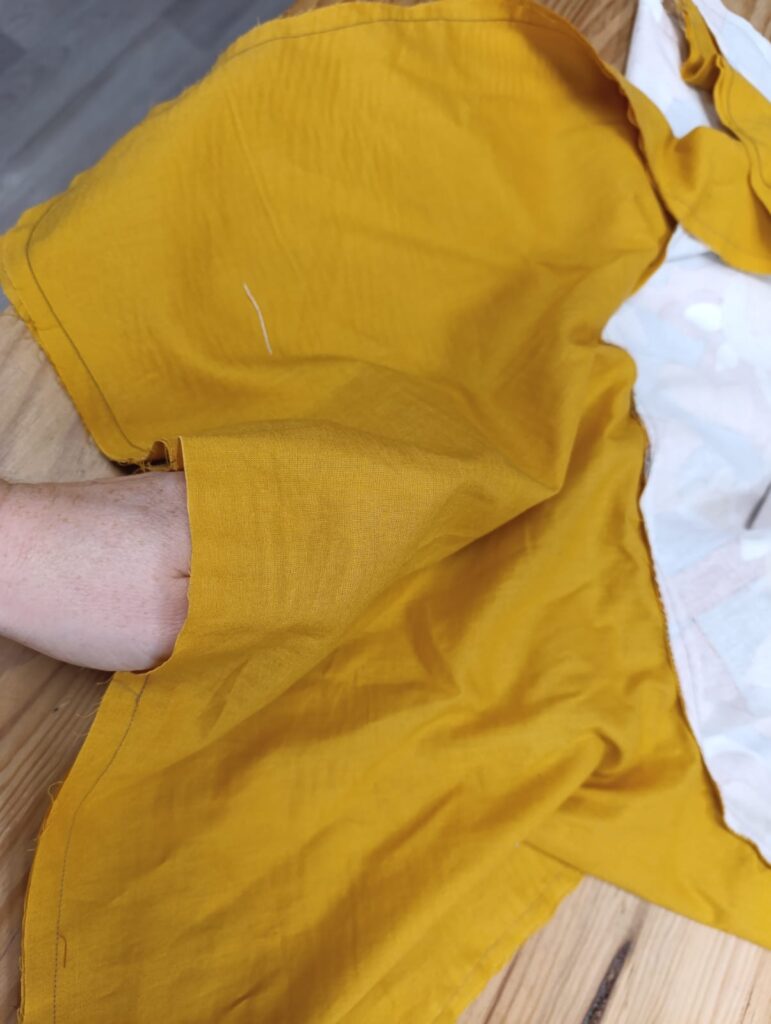
Reach inside the bag through the opening in the lining and pull out one handle.
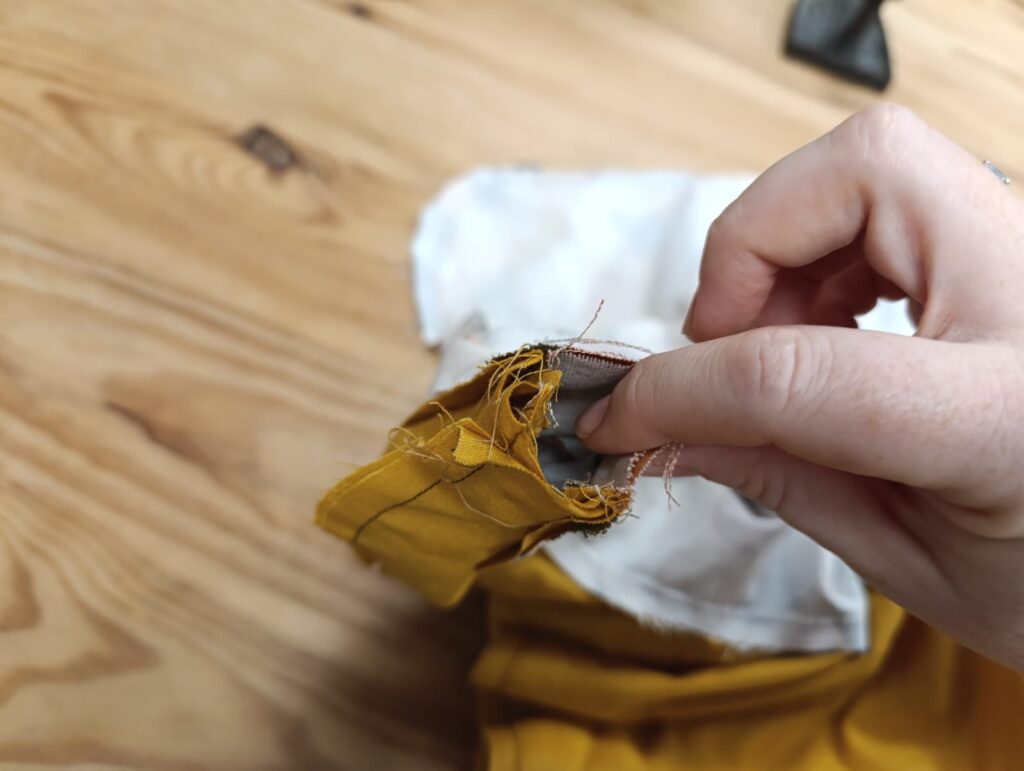
Slip this handle inside the other, keeping everything inside the bag. The handles should be right sides together. Make sure they are not twisted: the outer fabrics should face each other, and the linings should face each other as well.
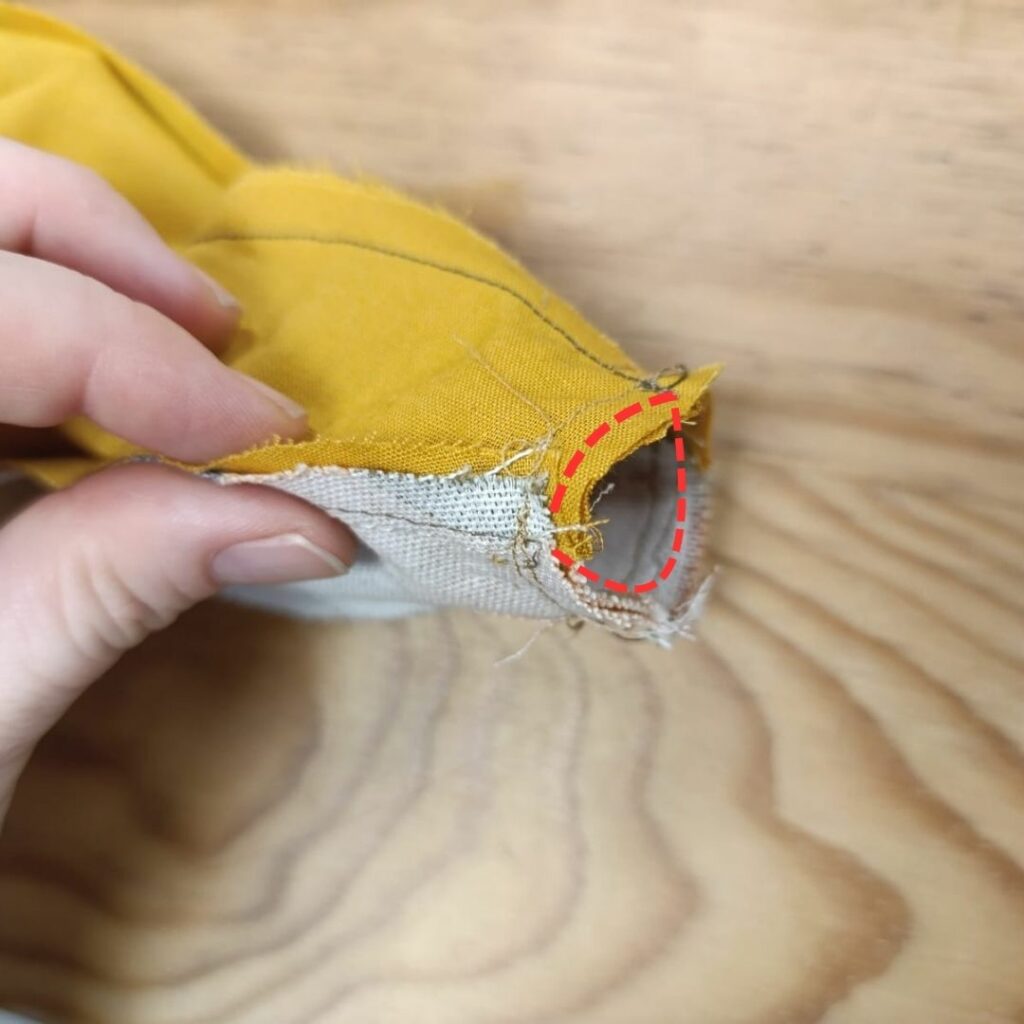
Now stitch all around the inside edge of the handle. If this feels tricky, you can position the presser foot inside the tube.
Turn the bag right side out through the opening.
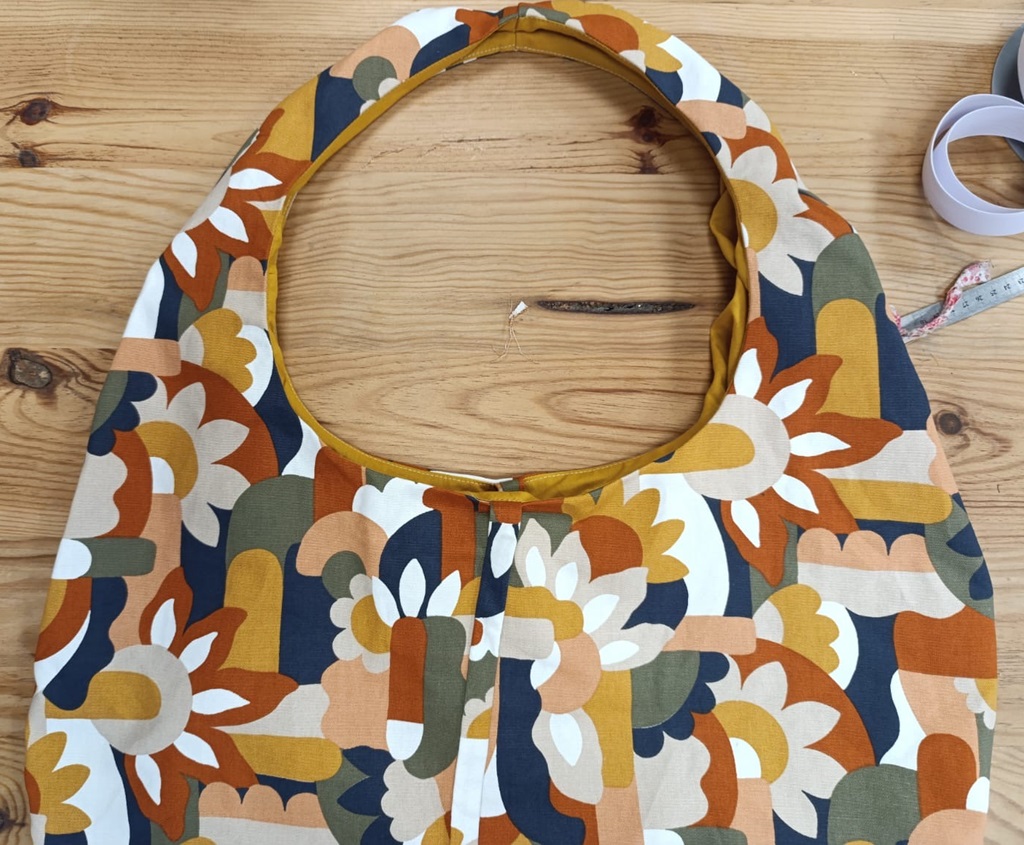
The top of the handle still needs to be closed. To do this, topstitch along about 20 cm.
Finally, close the opening in the lining with a topstitch and press the entire bag.
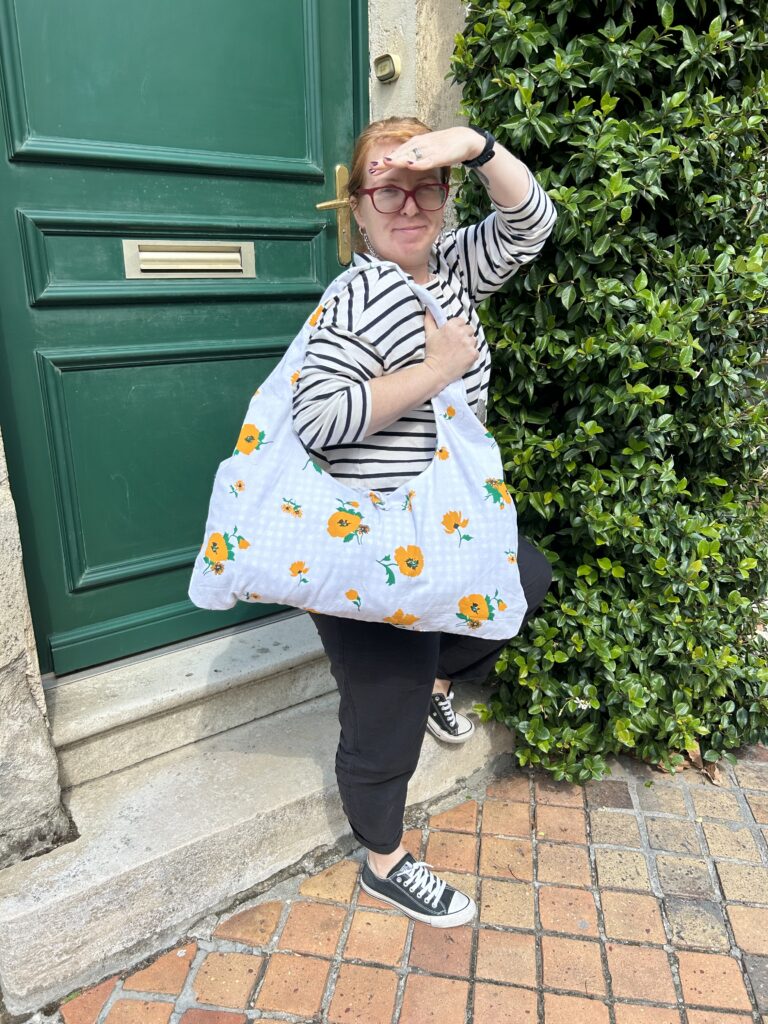
CONGRADULATIONS, your Boho bag is ready to wear! 🙂
Have you just finished the trendy Boho bag tutorial? We’d love to see your creation, feel free to share it on social media and tag us @ruedesnuages!
Would you like some guidance with this project? You can join a sewing class at Rue des Nuages, we’d be delighted to welcome you!