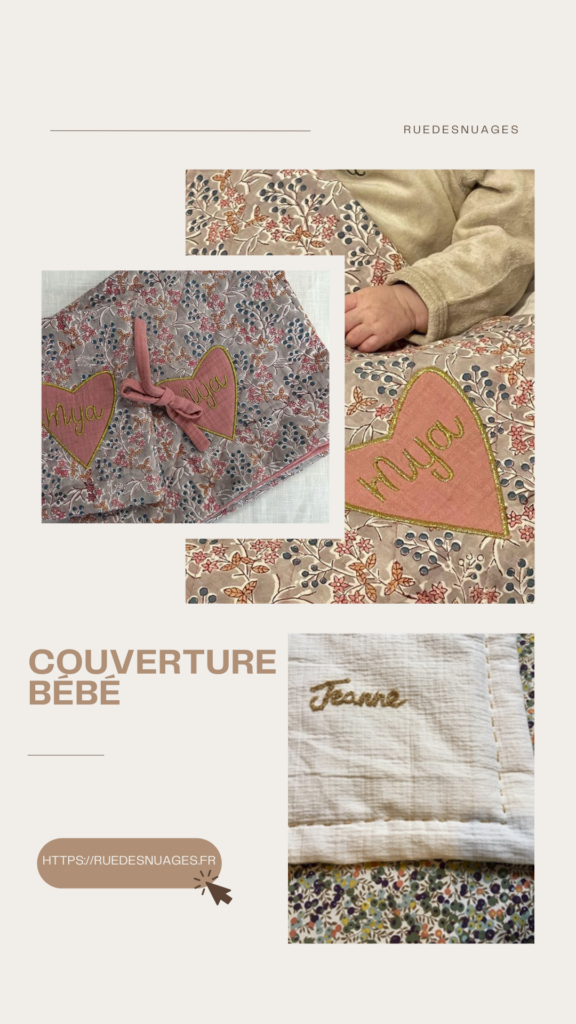
Today, let’s discover the secrets of its fabrication to make it !
This tutorial is accessible for both couturier and beginners. Several technics are used :
How to embroid a name with your hands
Assemble with your sewing machine
Quilting with a hand point
Close a lining with an invisible point by hands
Materials
For a baby blanket measuring 50 × 75 cm (you can of course adapt the dimensions to your preference), you will need:
55 × 80 cm of cotton fabric (such as Liberty fabric)
55 × 80 cm of double gauze cotton
50 × 75 cm of batting
A piece of Solufix (Vlieseline)
Lurex thread
A sewing machine, pins, and a needle
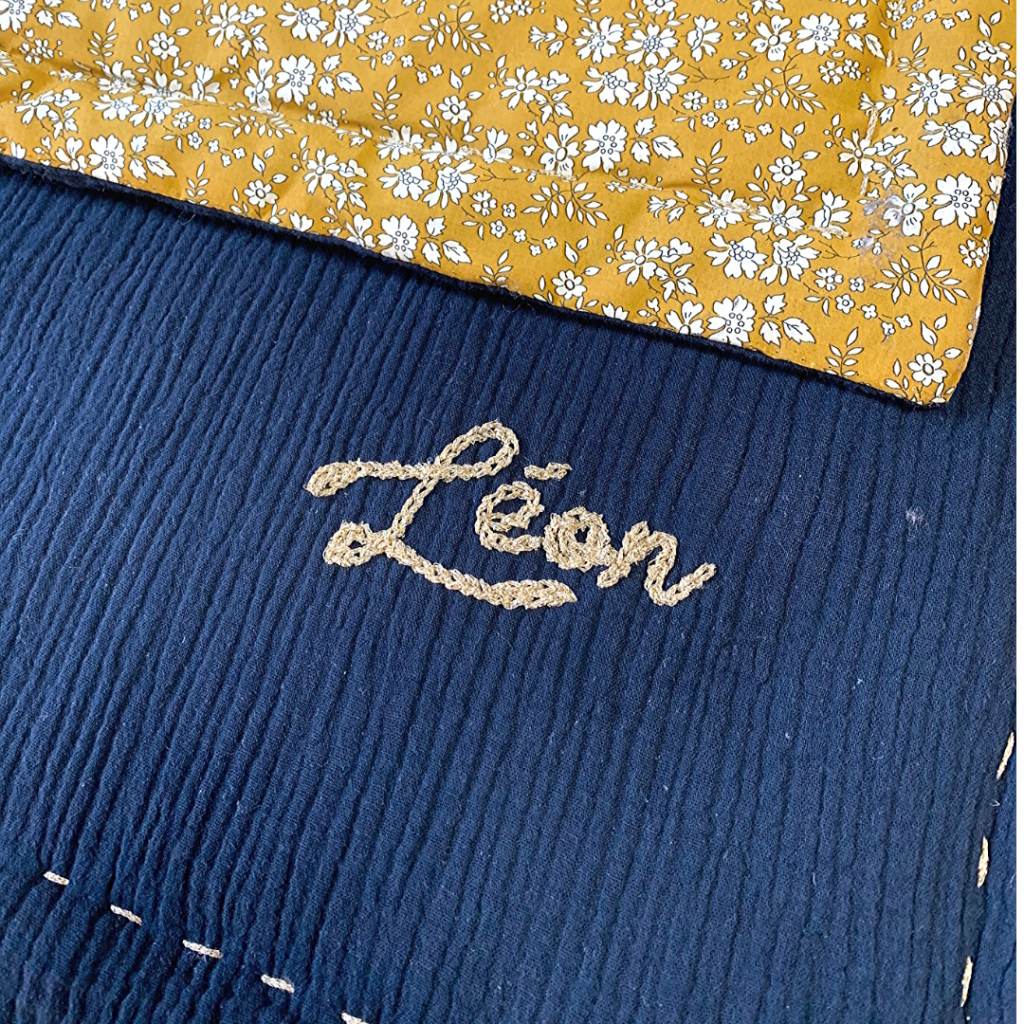
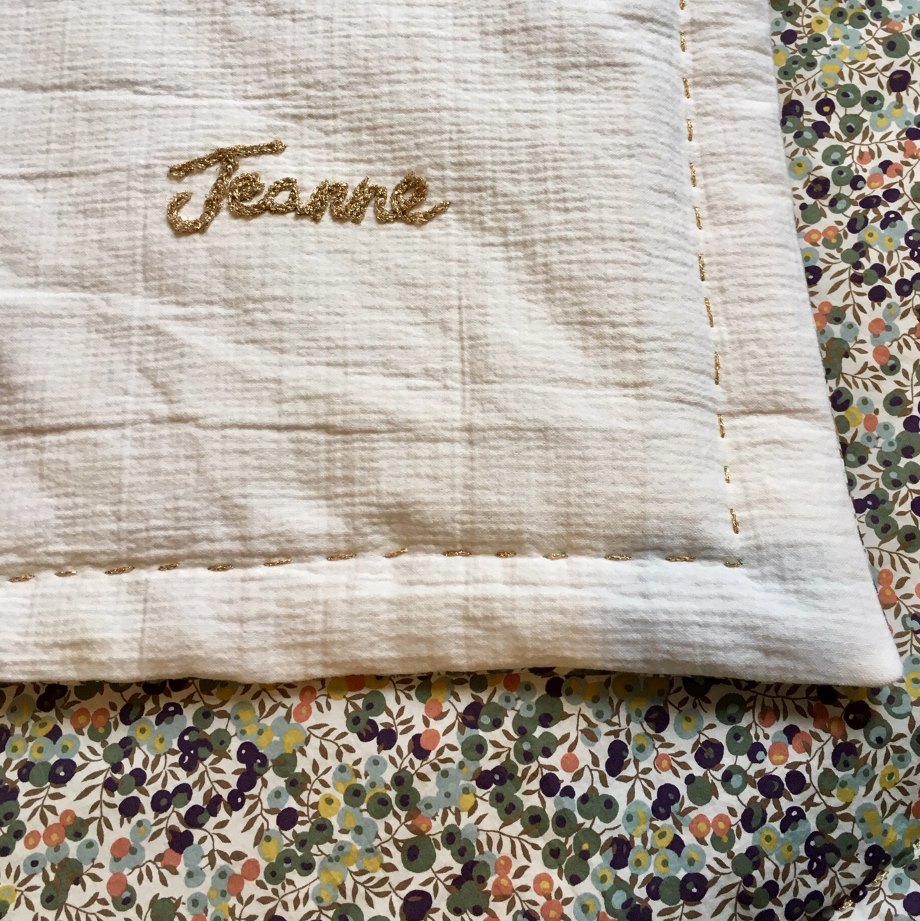
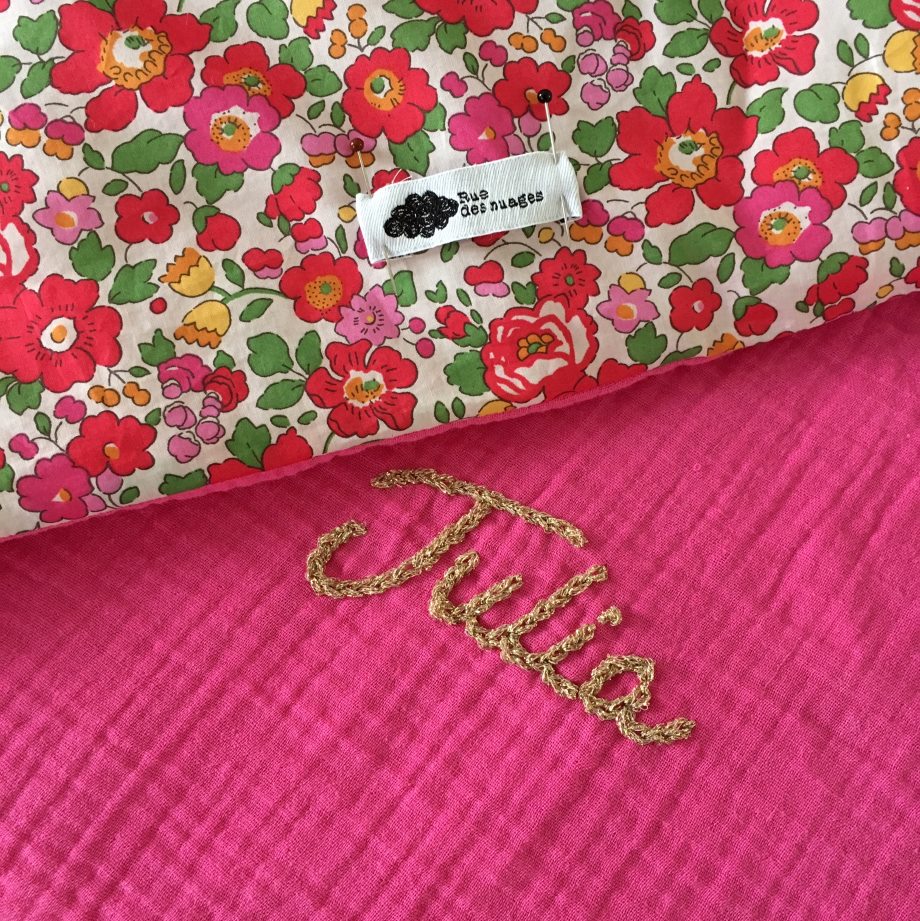
Step 1: Embroidery
To personalize your blanket, start by embroidering the baby’s name using the lurex thread.
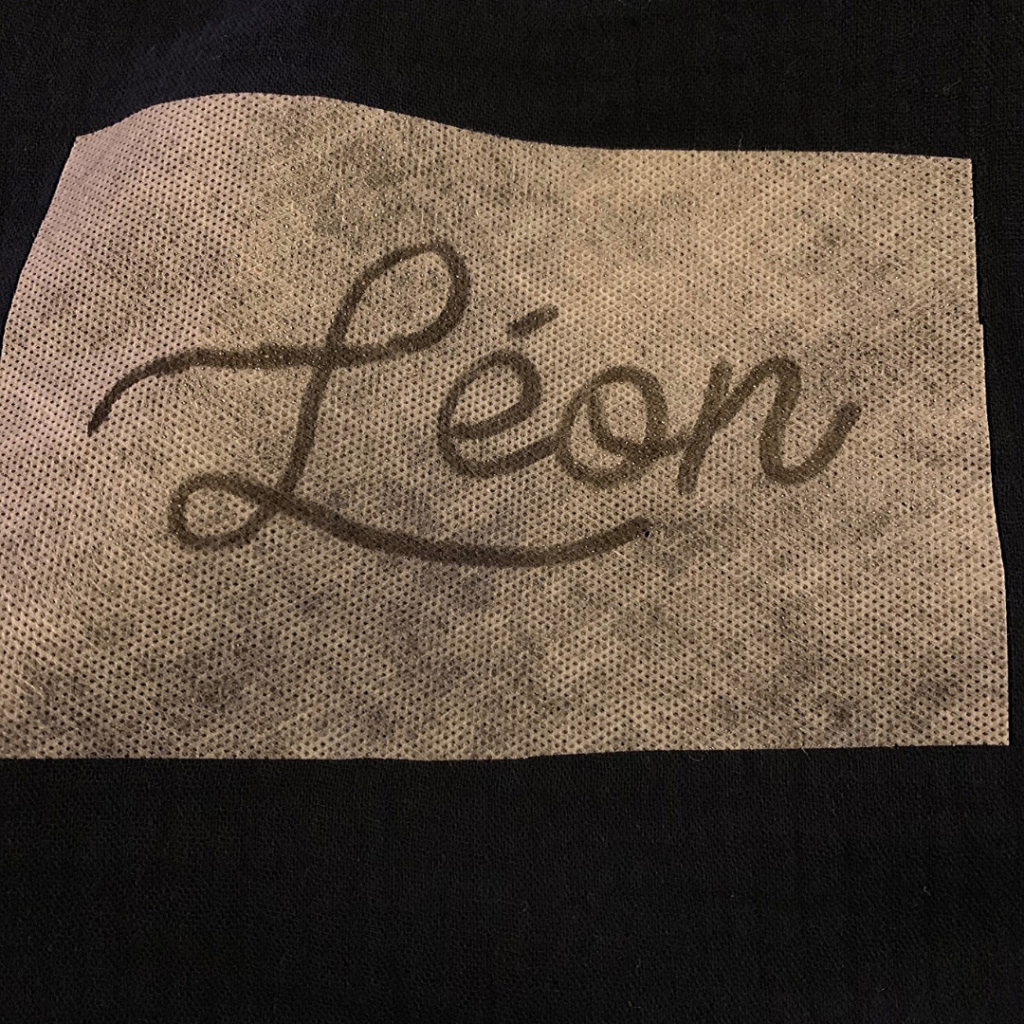
Using Solufix
To make things easier, you can use Solufix. It is a water-soluble stabilizer on which you can write the name.
It sticks to the fabric while you embroider and dissolves in cold water once you’re done.
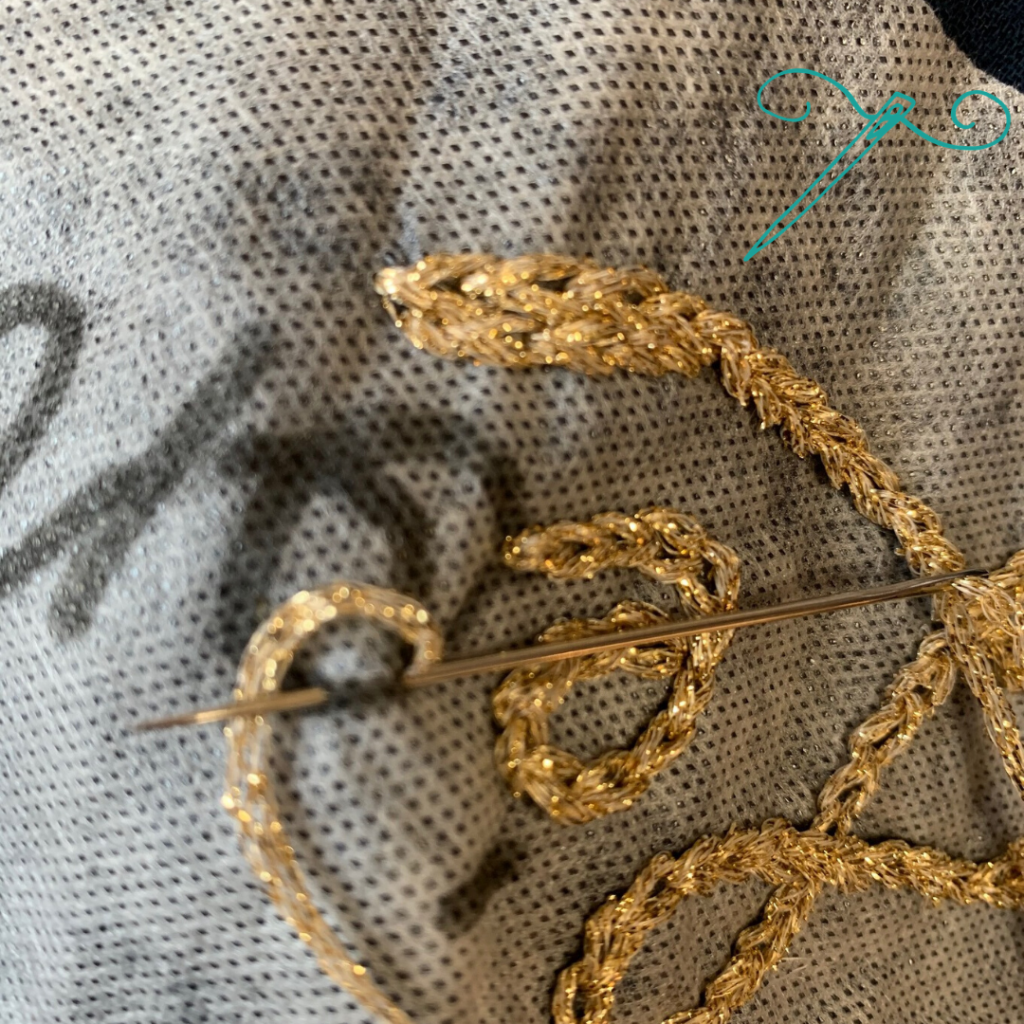
Chain stitch
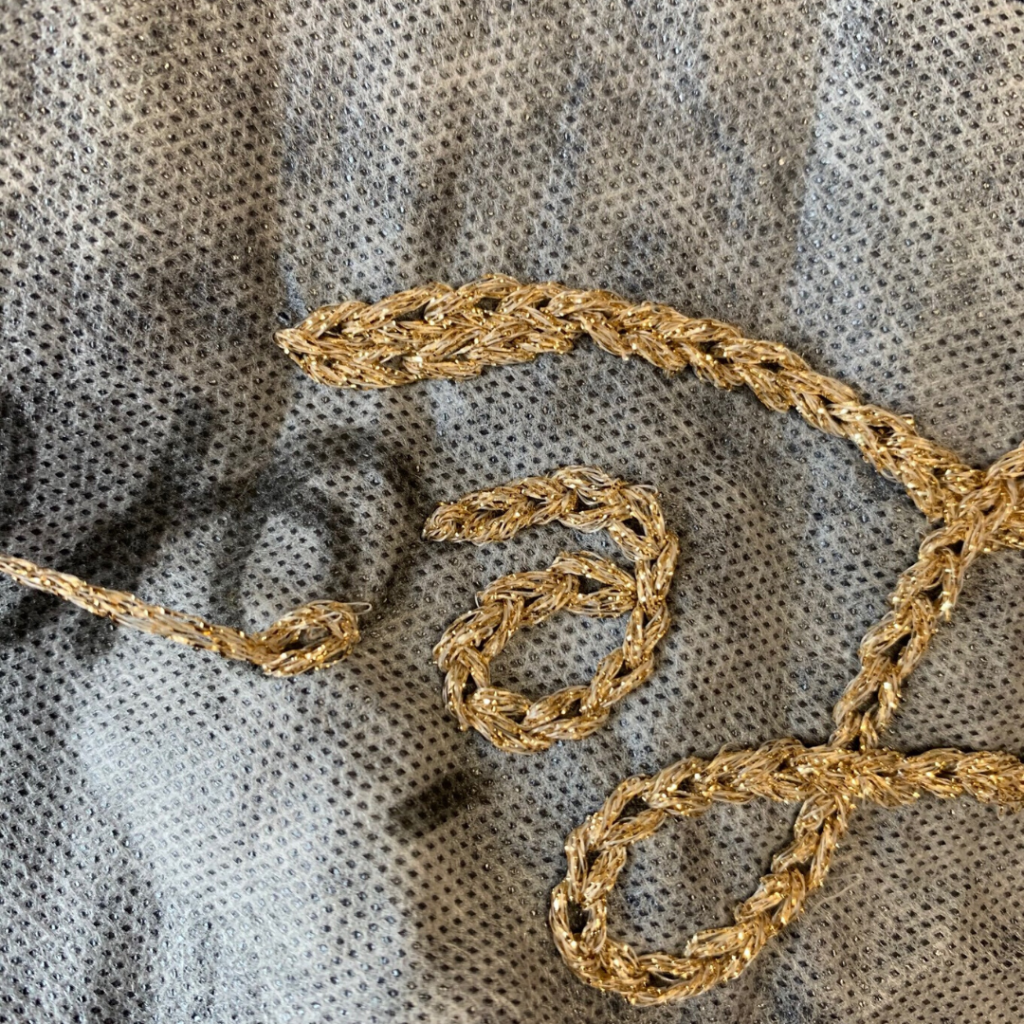
The stitch used here is a chain stitch, a decorative stitch that is quick to make.
1- Bring the needle up through the fabric (from the back to the front), then insert it again at the same point and bring it out slightly further along.
2- Pass the thread under the needle to form a loop, then pull through.
3- Insert the needle into the loop to secure it, and repeat the process to create the next loops.
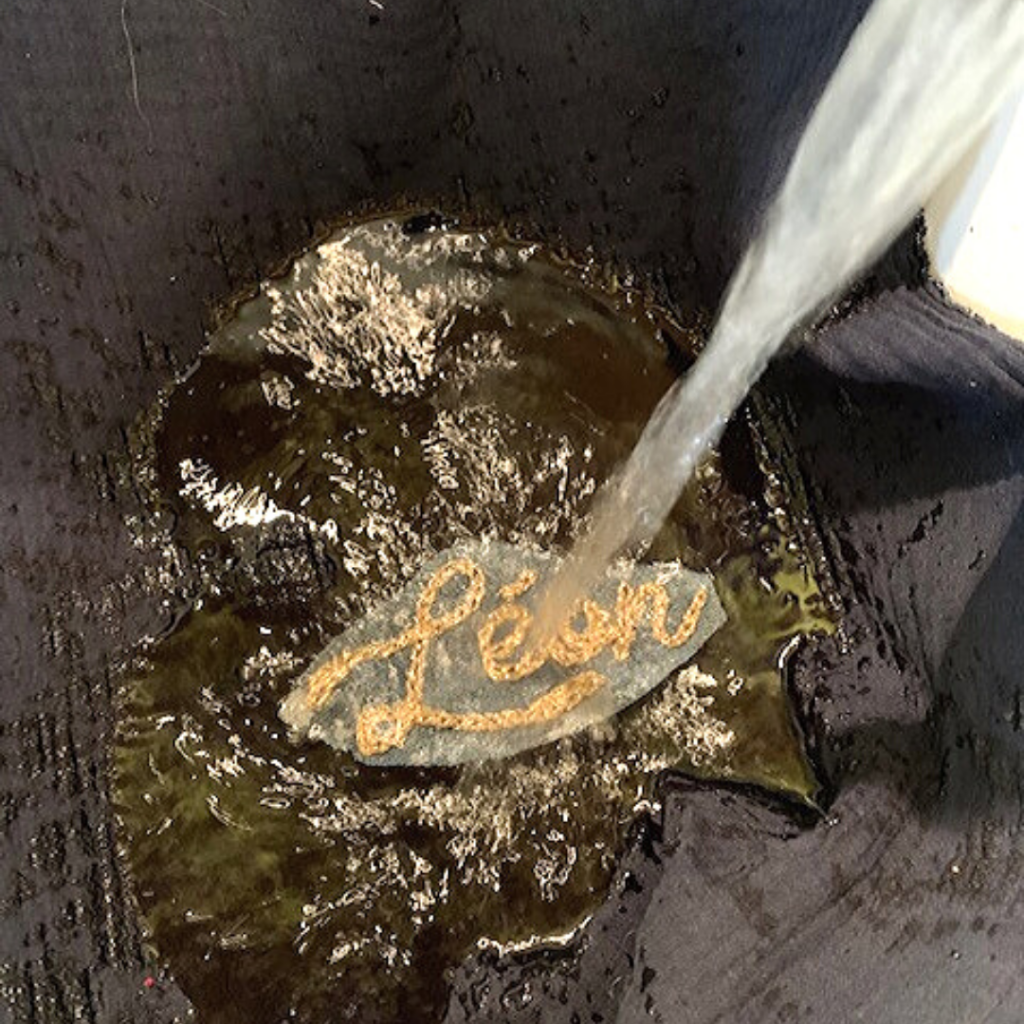
As mentioned above, the Solufix will dissolve in cold water once the embroidery is finished.
Step 2: Assembly
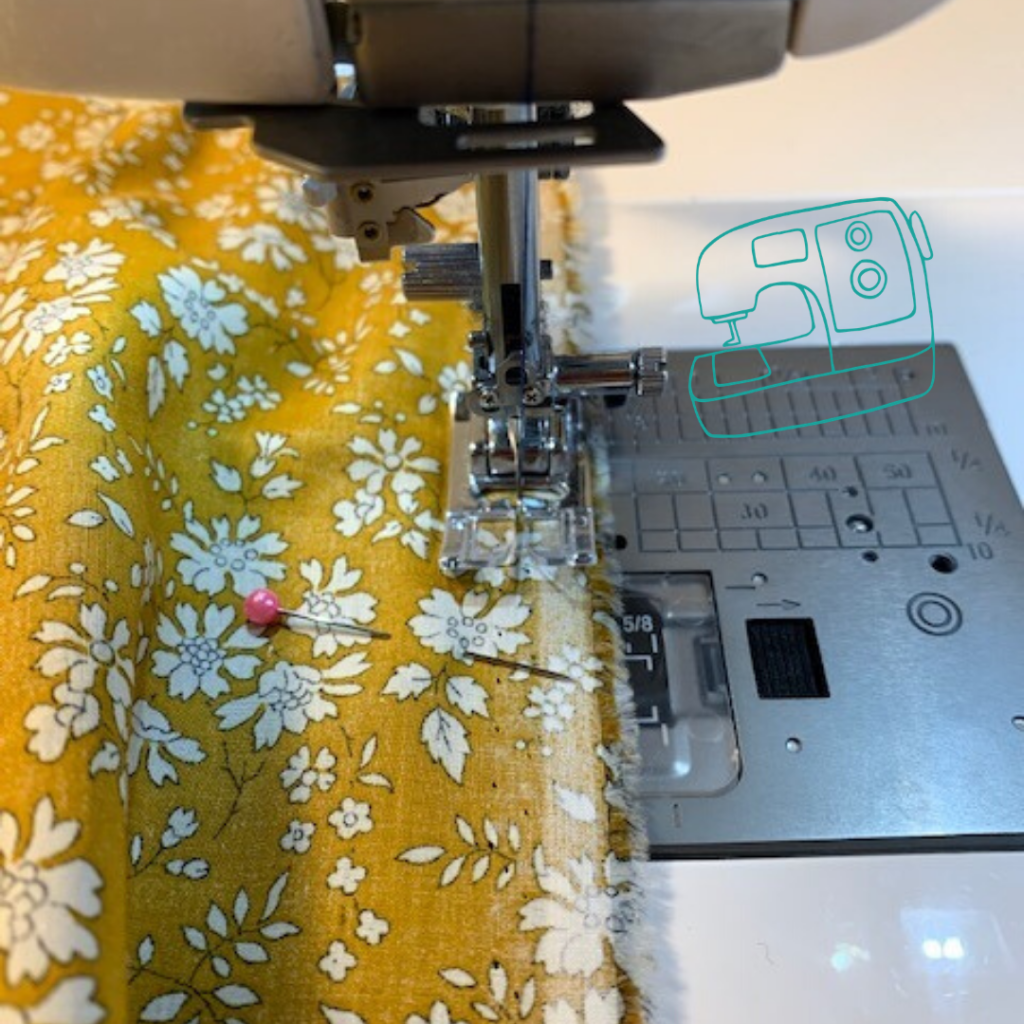
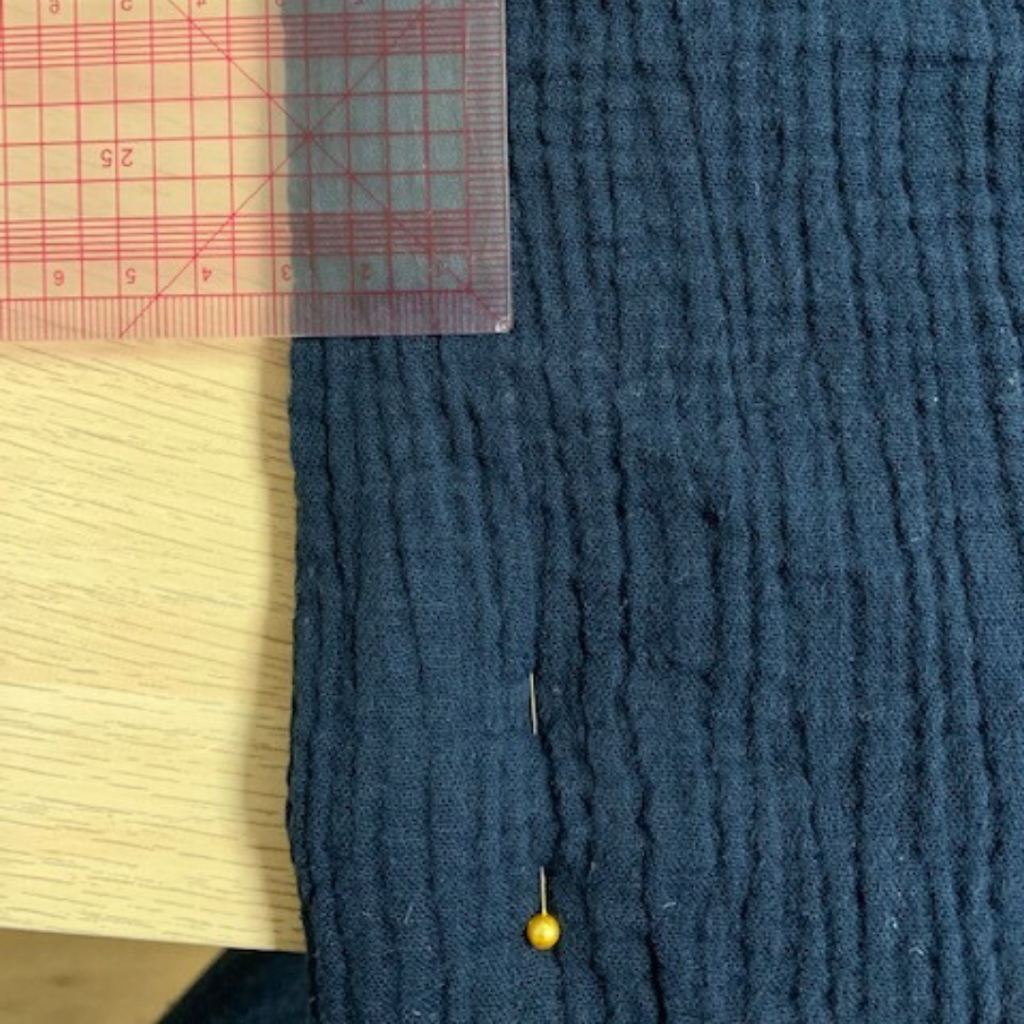
Place the two pieces of fabric (printed cotton and double gauze) right sides together and pin them.
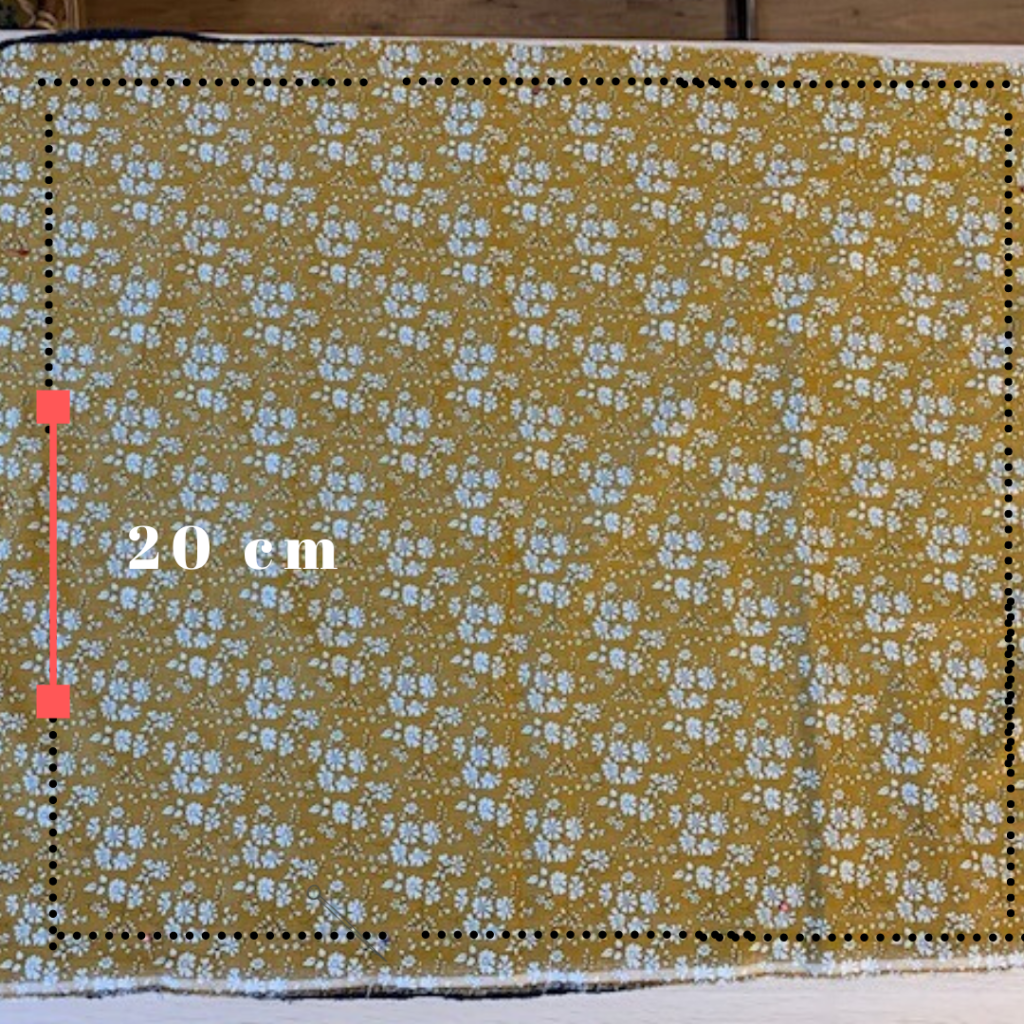
Sew around the edges using a sewing machine, leaving a 20 cm opening at the bottom so you can turn the blanket right side out.
Tip: Stitch with the Liberty cotton facing up… it is more stable than double gauze and will give you better control while sewing.
Step 3: Quilting
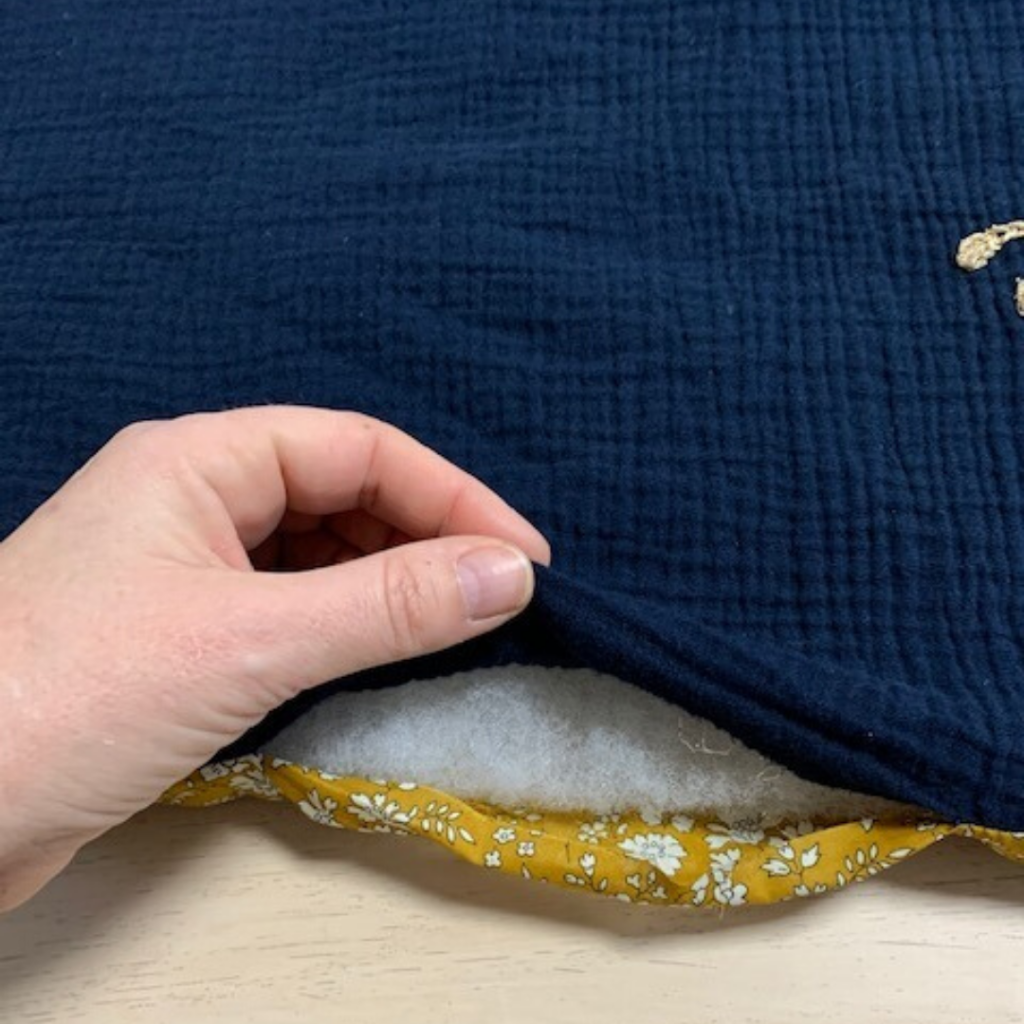
Once the blanket is turned right side out, insert the batting inside, making sure it lies flat.
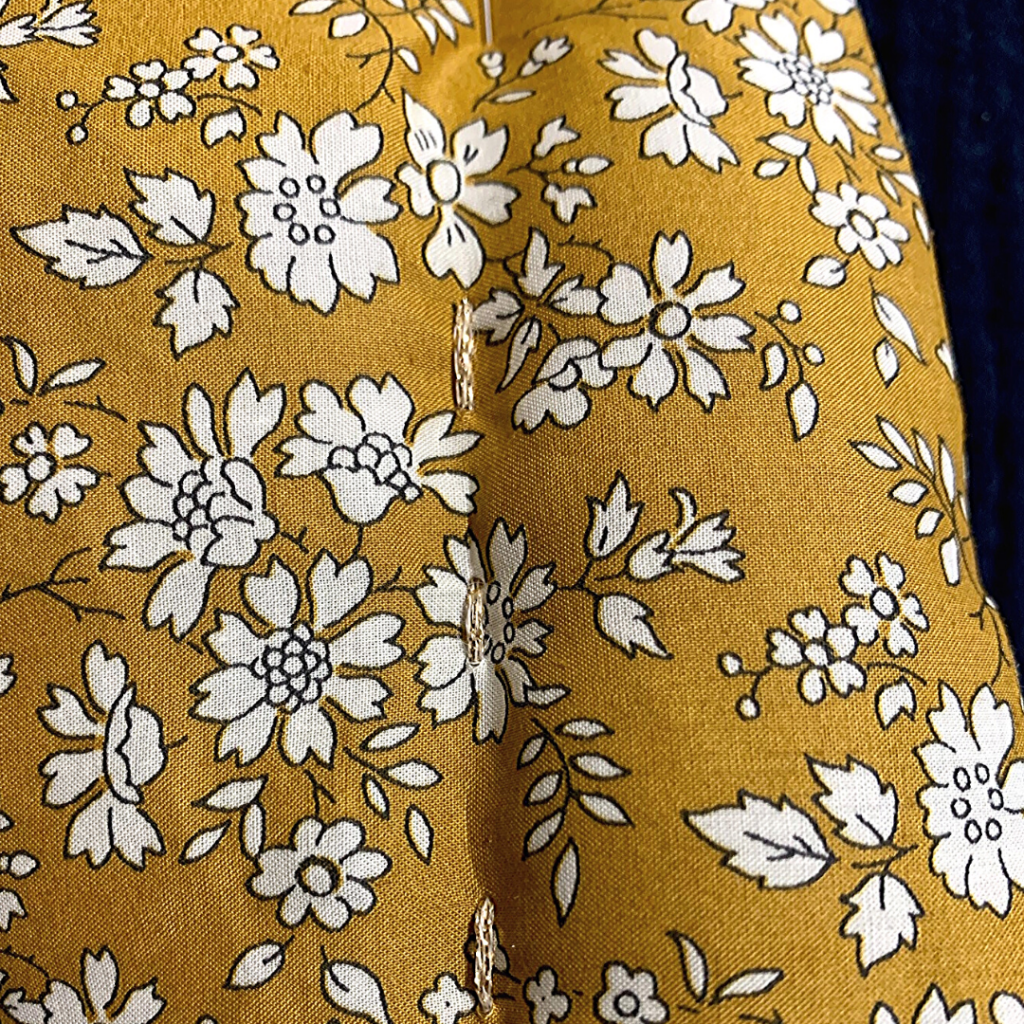
Mark reference points all around the blanket, 3 cm from the edge.
Using the lurex thread, sew a straight running stitch along this line.
The goal is to create evenly spaced stitches. Pass the needle through all three layers : the double gauze, the batting, and the Liberty fabric. Your stitching should look the same on both the right and wrong sides.
This quilting will keep the batting in place inside the blanket.
Step 4: Finishing
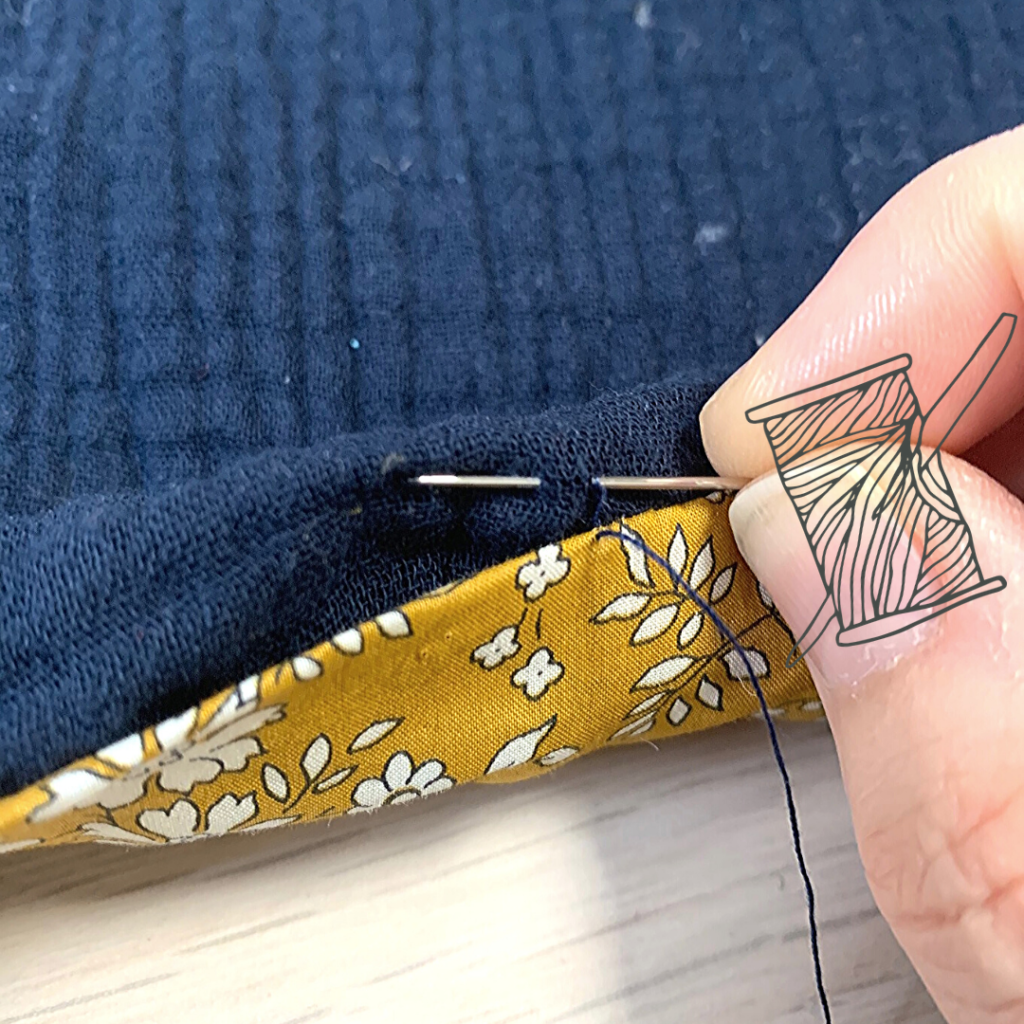
To finish your beautiful blanket, you need to close the opening. To do this, use an invisible slip stitch.
At the opening, fold the seam allowances inward. You will now sew inside the folds. Work from right to left.
Bring the needle out on one side of the opening, then insert it directly opposite on the other side. As you gently pull the thread, the seam will close and disappear between the two layers.
Tie a small knot to secure the stitching once the opening is closed.
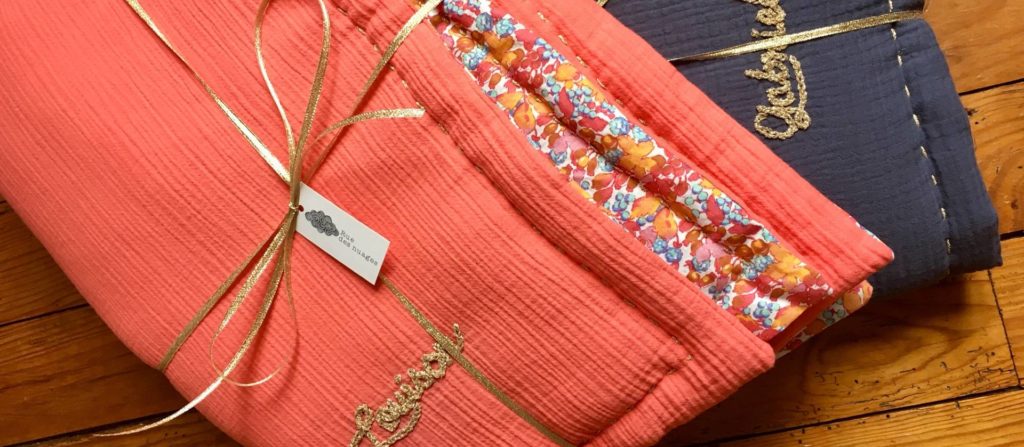
And voilà! Your beautiful personalized baby blanket is finished… the best part is still to come : gifting it to the parents!
Have you just finished the beautiful personalized baby blanket tutorial? We’d love to see your creation, feel free to share it on social media and tag us. #ruedesnuages
Would you like some guidance with this project? You can join a sewing class at Rue des Nuages, we’d be delighted to welcome you!
Prefer to order instead? All the products available in my e-shopare lovingly handmade in my workshop in Bordeaux Bastide.