This beginner-friendly sewing tutorial is an easy and accessible project that will teach you how to sew a lining and add a patch pocket.
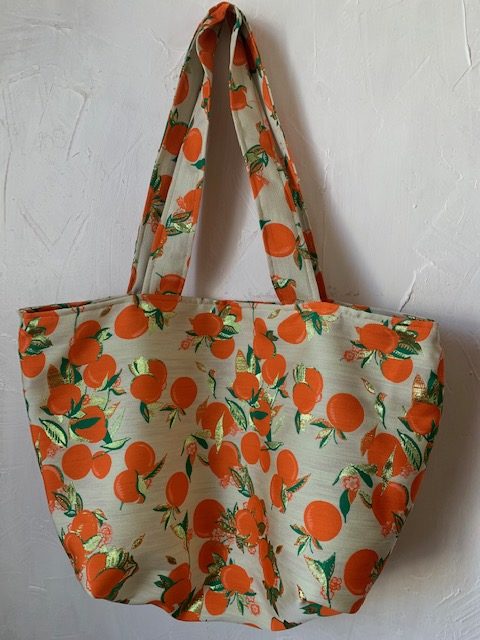
Ready to make a big, practical bag that will follow you everywhere? Let’s get started!
Materials
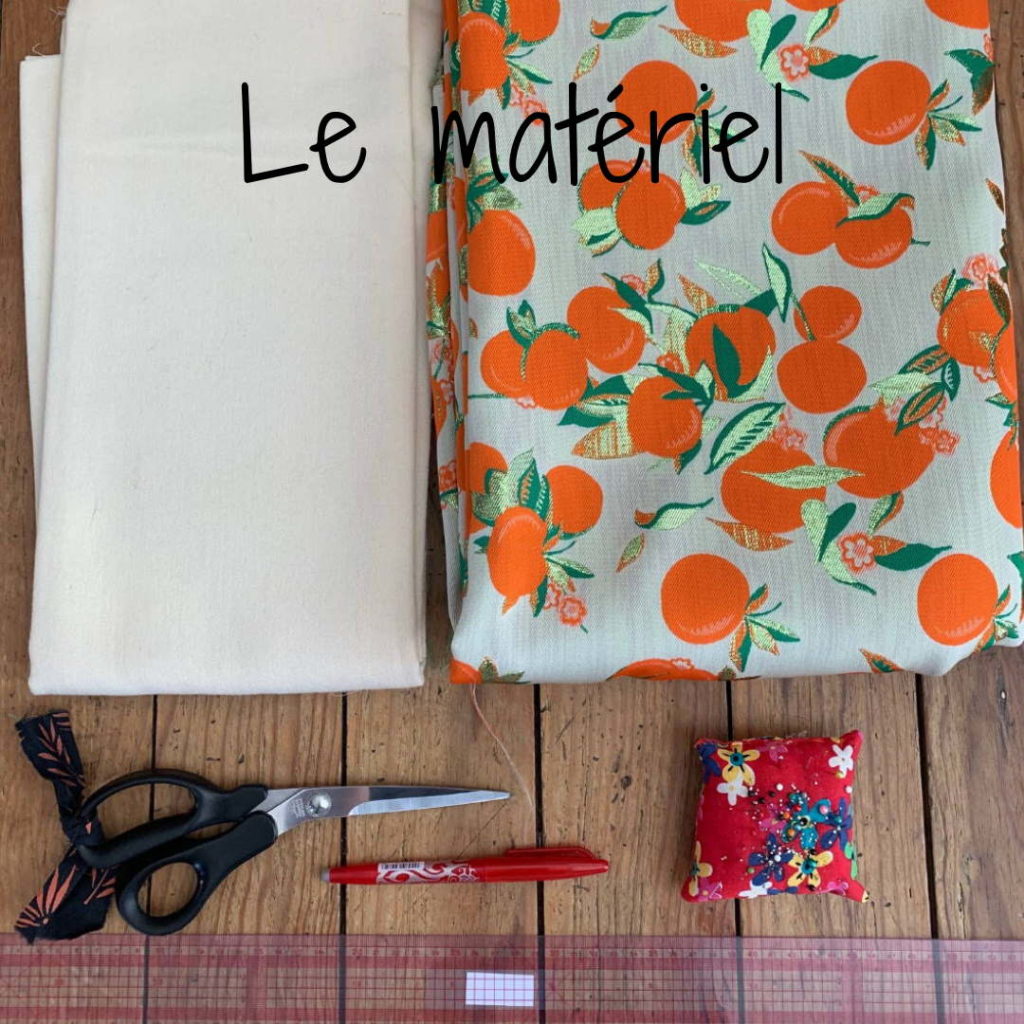
80 cm of main fabric, chosen from upholstery fabric, velvet, cotton canvas, denim, waxed fabric, cretonne, or similar fabrics
40 cm of lining fabric (you can use one of the fabrics listed above, or a slightly lighter fabric)
A sewing machine
Pins, cisors, rule, thread
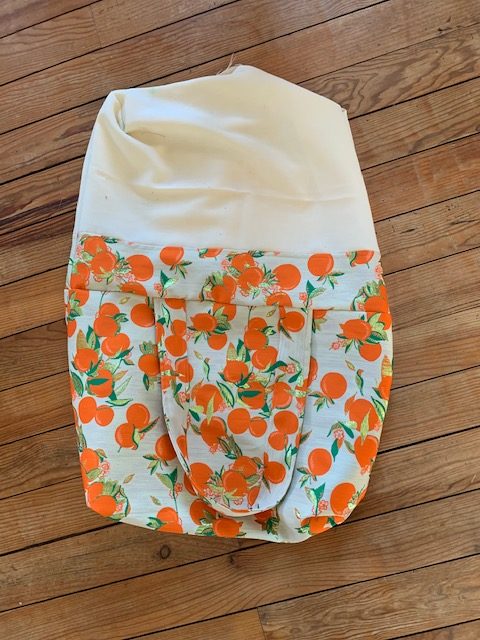
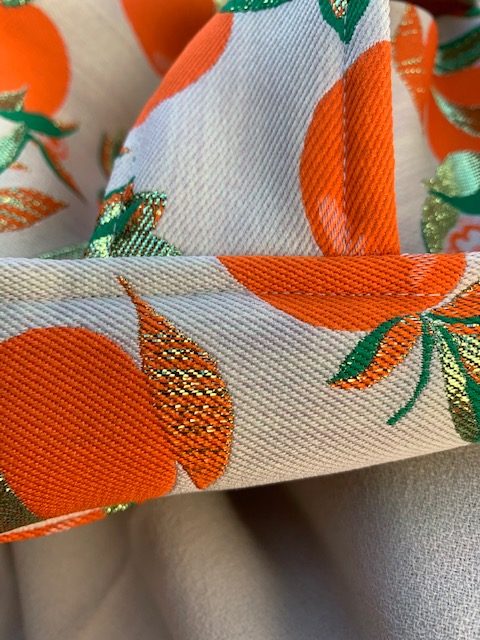
For the outer fabric, I have chosen a fabulous woolen jaccquard printed with clementines with Or lurex touch, beautiful !
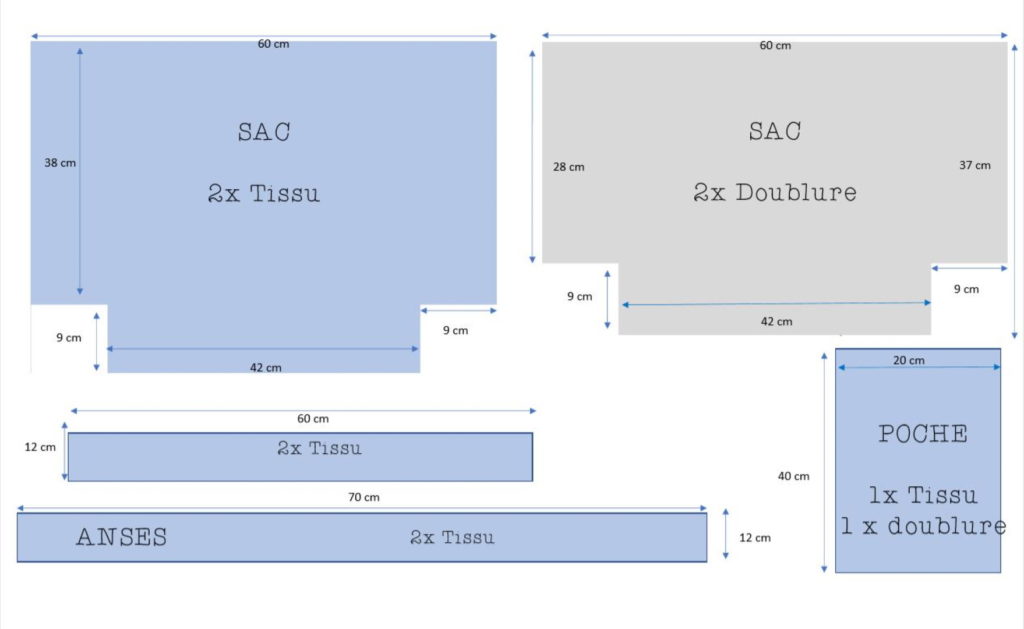
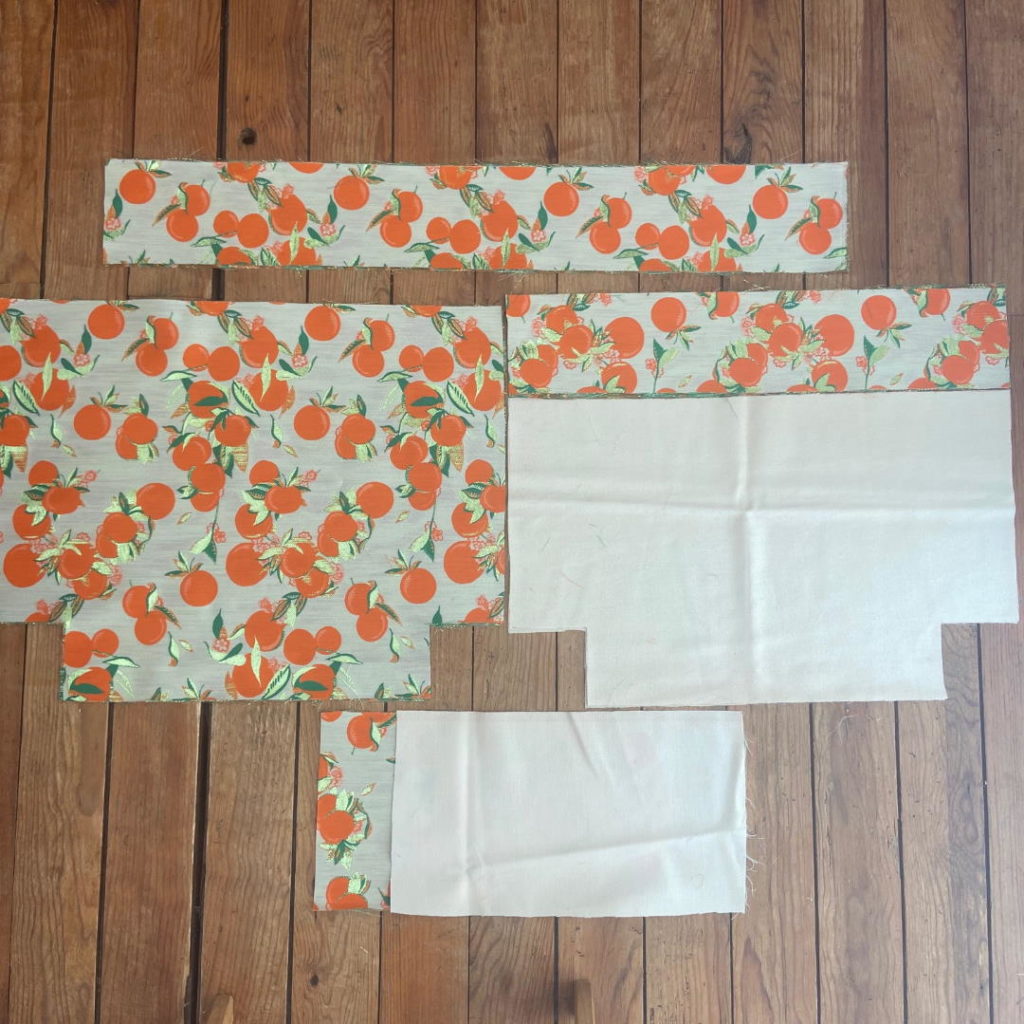
Step 1: Cut the pieces
Before cutting the fabric, trace the pattern pieces using a ruler. You can use a Frixion pen—the marks will disappear with the heat of the iron, like magic!
If your fabric has a busy print and it’s difficult to see the markings, you can make a paper pattern and pin it onto the fabric before cutting.
You will need a total of 10 fabric pieces :
2 handle pieces
2 outer fabric pieces
4 lining pieces
2 pocket pieces
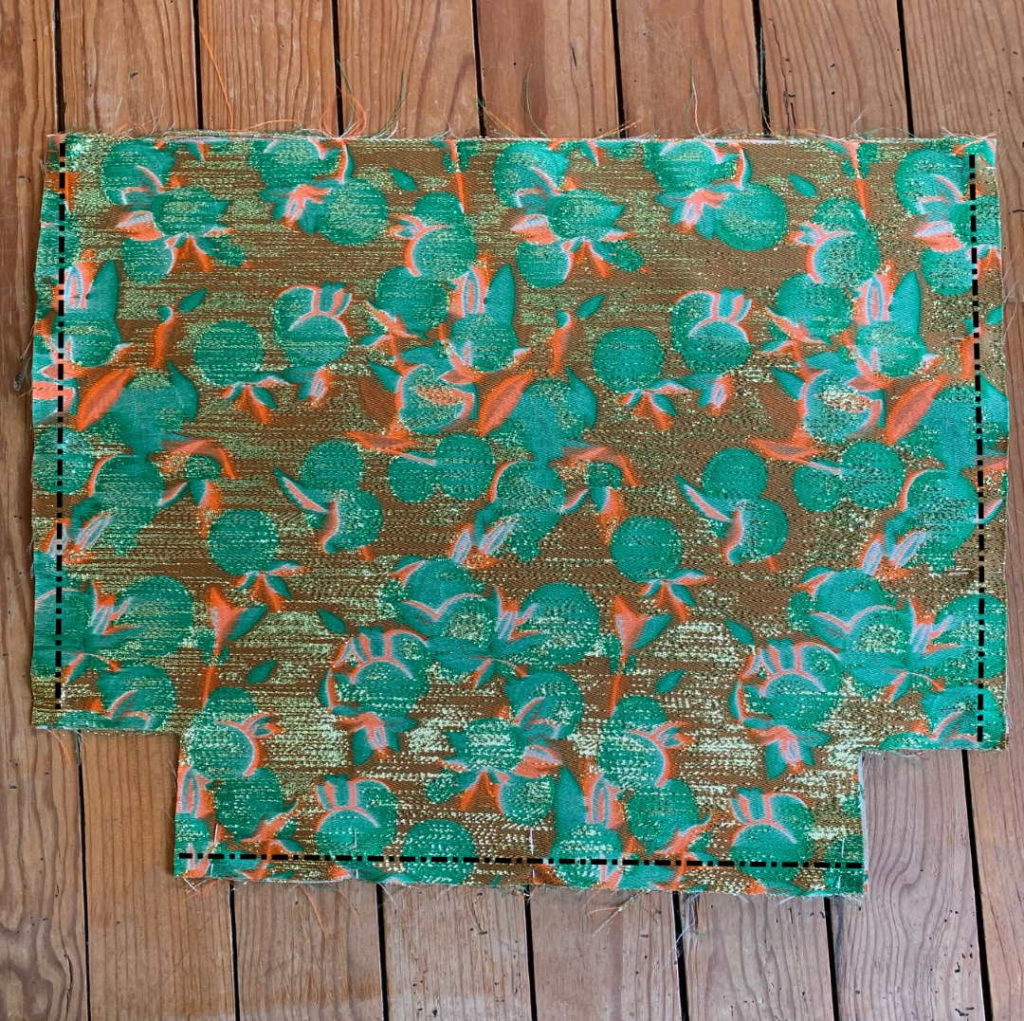
Step 2: Assemble the outer bag pieces
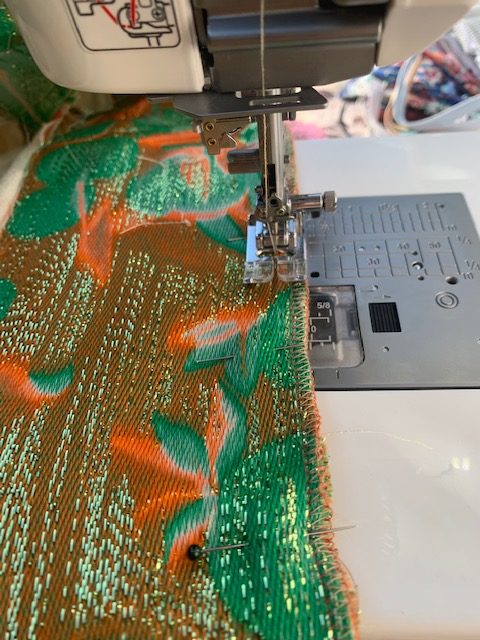
Place the two outer fabric pieces right sides together. Pin the side edges indicated in black in the diagrams.
Stitch 1 cm from the edge, making sure to backstitch at the beginning and end of your seam.
Press the seam open with an iron.
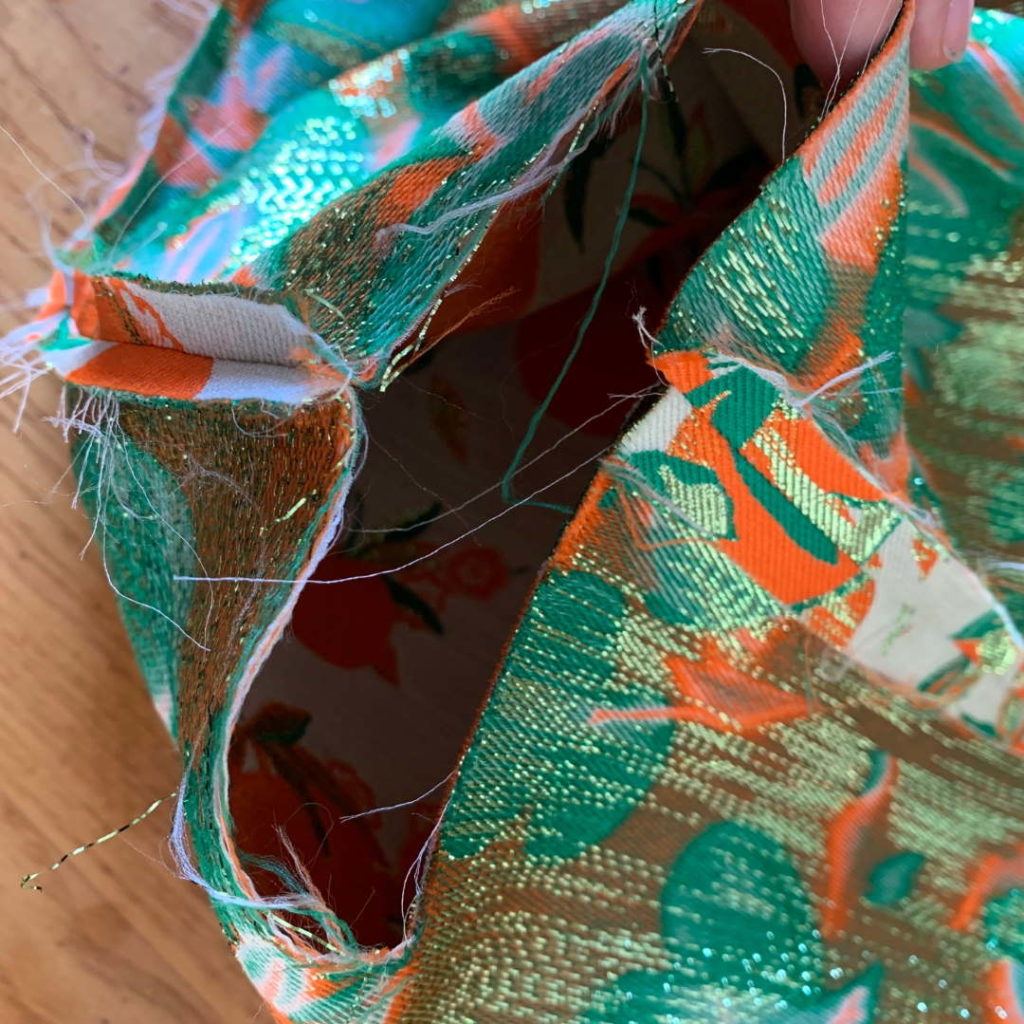
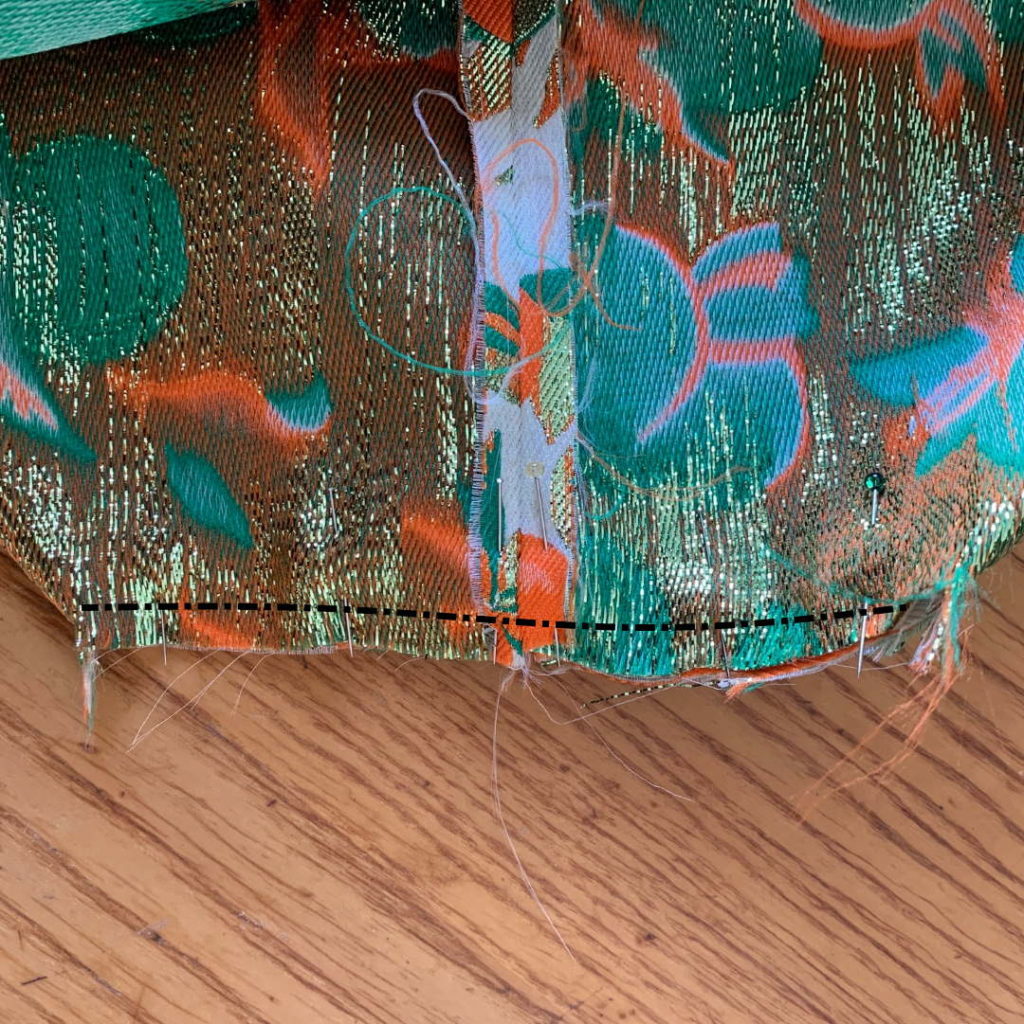
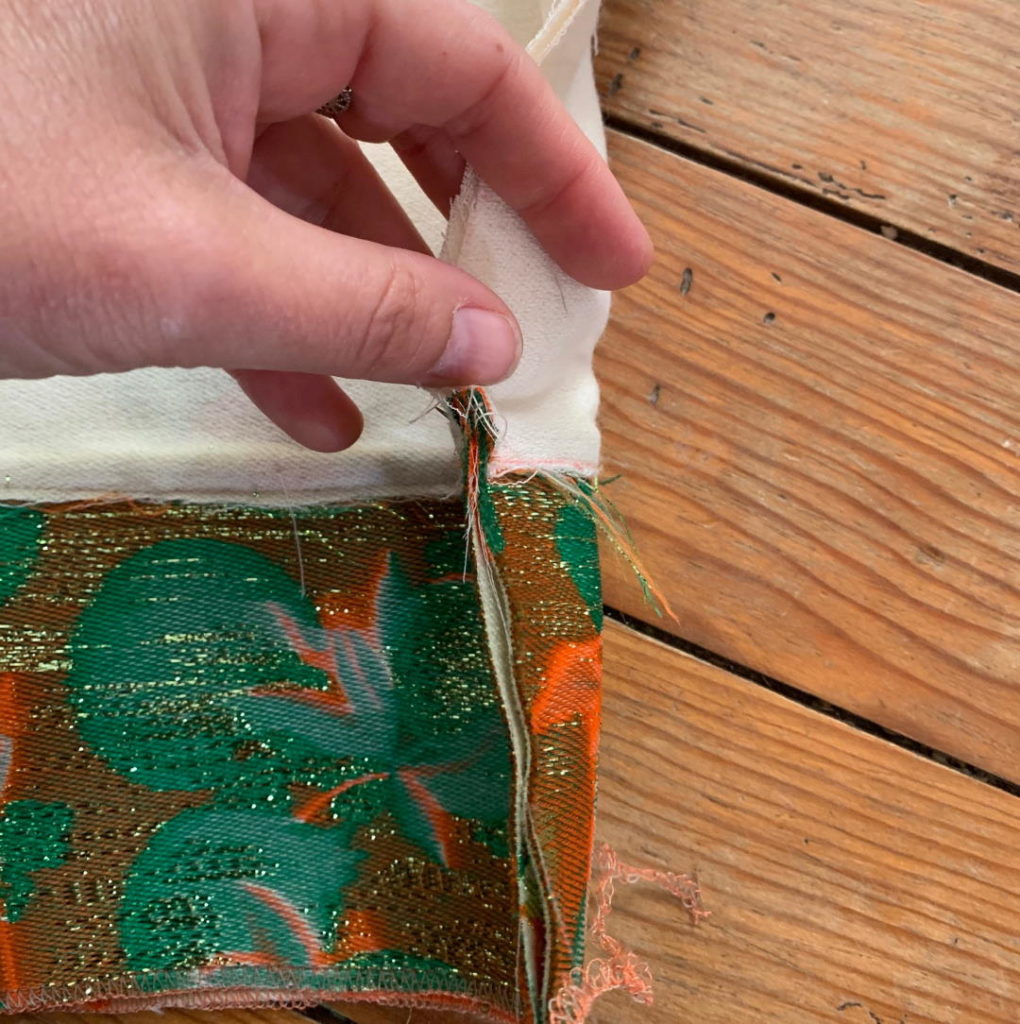
Now we will form the bottom of the bag to give it volume at the open corners. Close each corner by aligning the side seams together (right sides facing), then stitch 1 cm from the edge.
You now have the outer part of the bag completed!
Step 3: Preparing the pockets and handles
THE POCKET
You have your two pocket pieces. Place them right sides together and stitch all around, leaving a 15 cm opening as indicated in black in the diagram.
Before turning it right side out, trim the corners to reduce bulk (as shown in red in the picture).
Do not close the opening, we will do this when attaching the pocket to the lining in step 4.
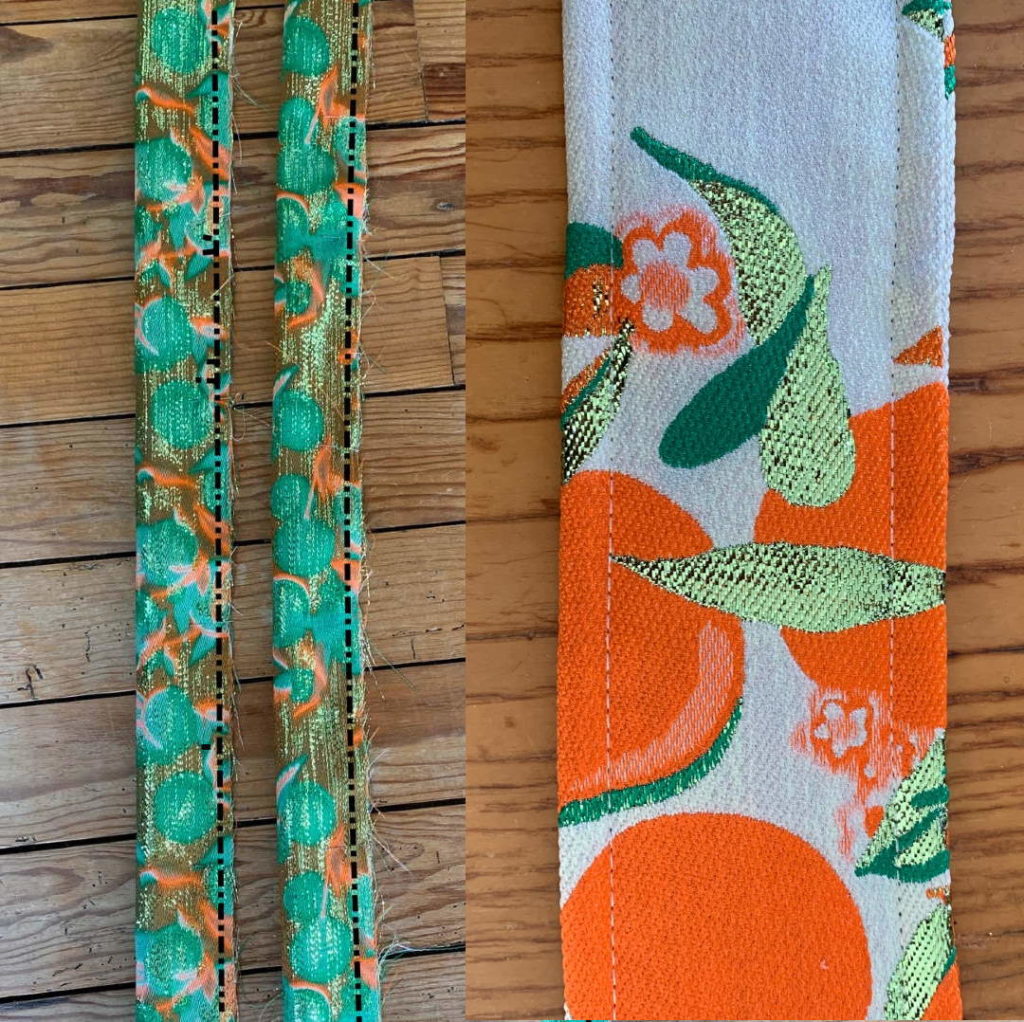
THE HANDLES
Fold both handles in half lengthwise. Stitch with a 1 cm seam allowance along the long edge. Turn them right side out. This can be a bit long and fiddly…
Press them, then topstitch 5 mm from the edge on both sides of each handle.
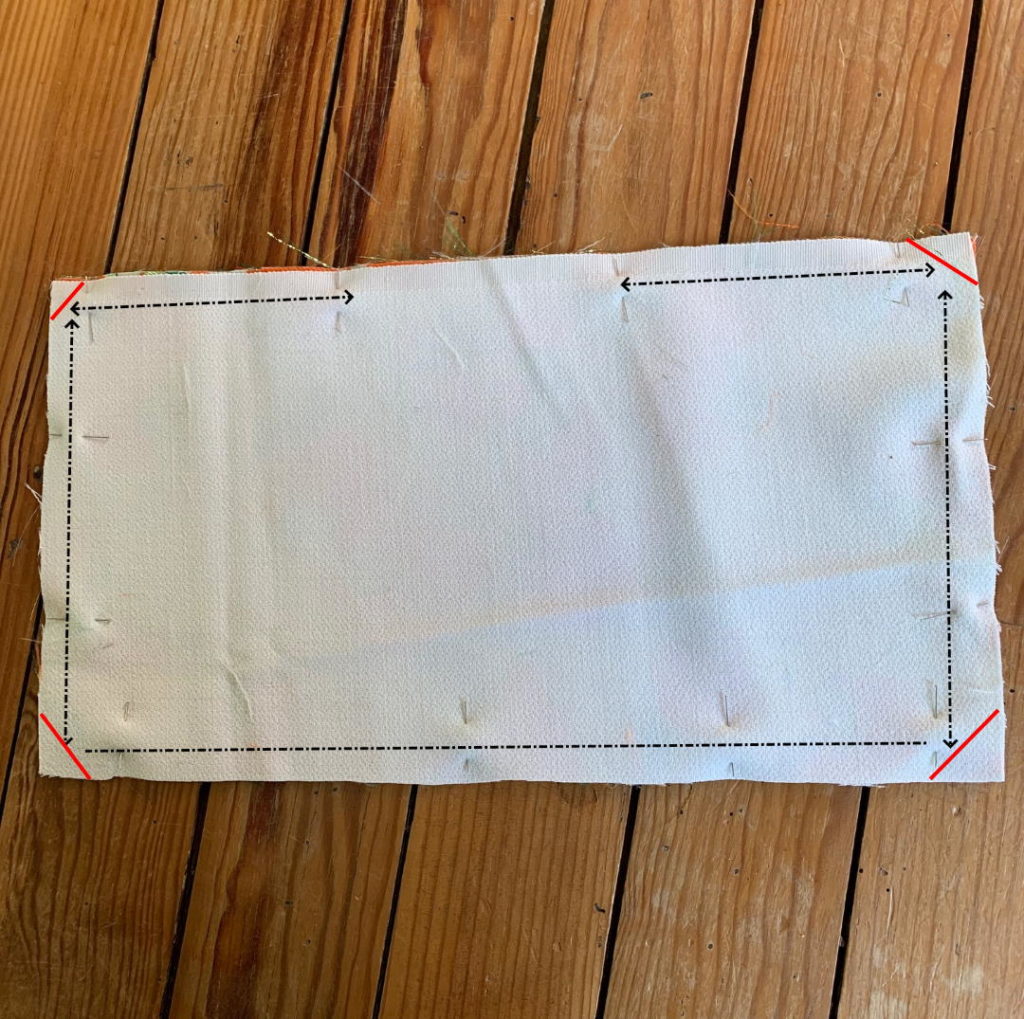
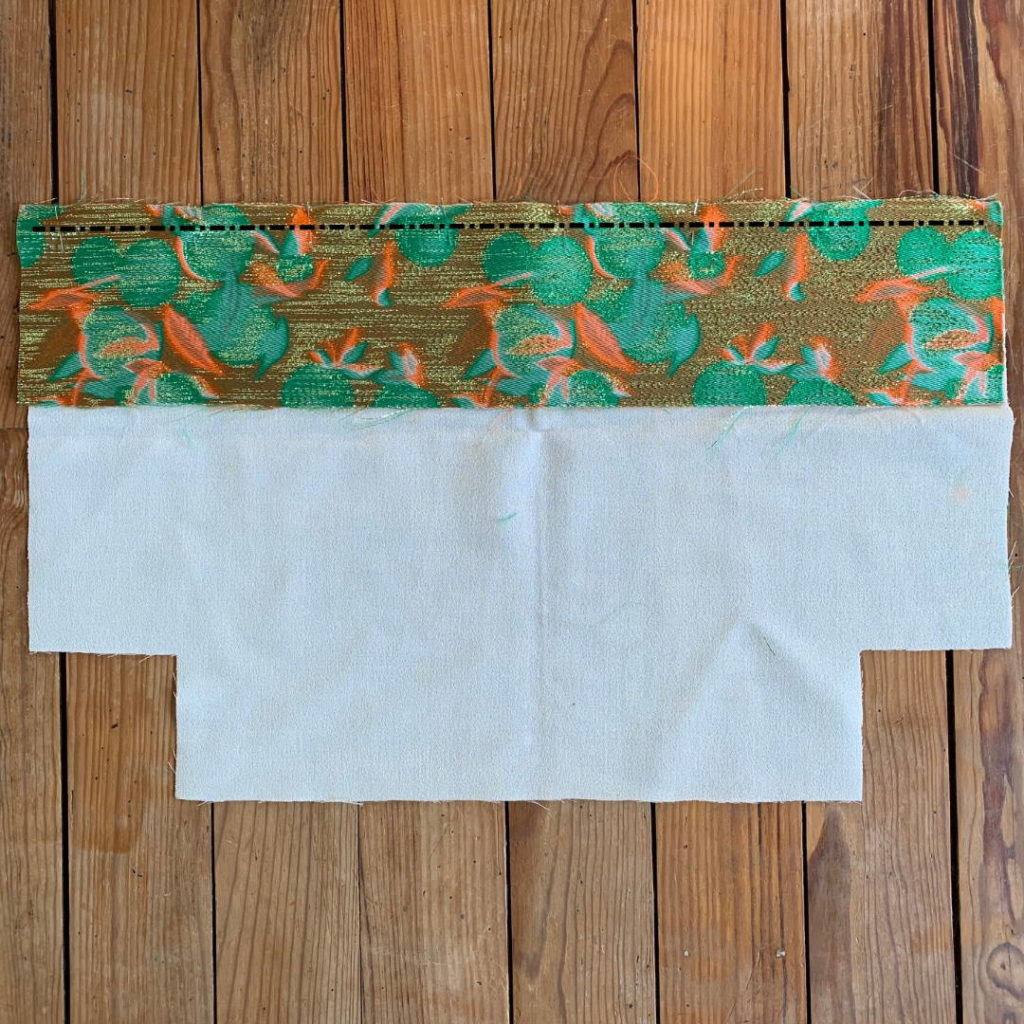
Step 4 : Preparing the lining
The lining is made of two pieces: a top and a bottom. Place both pieces right sides together (as indicated in black in the diagram).
Press the seam allowance toward the bottom piece, then topstitch to secure it flat against the fabric (as shown in the pictures).
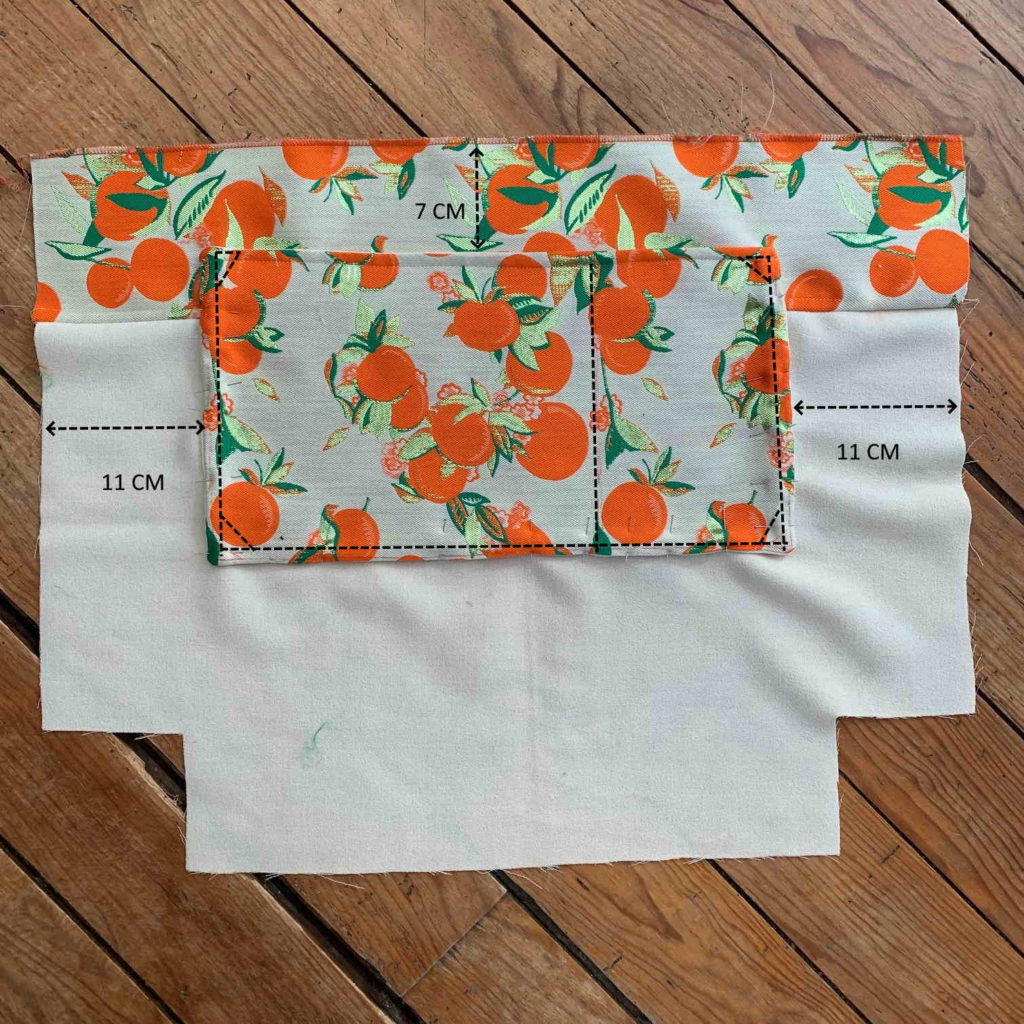
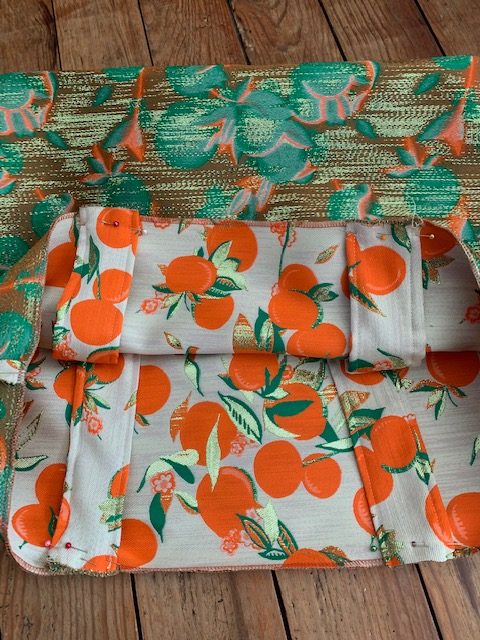
The pocket is attached to one side of the lining. Pin it in the center of the width and topstitch 2–3 mm from the edge. This will close the opening left in Step 3.
You can now divide the pocket into two compartments by adding another line of topstitching.
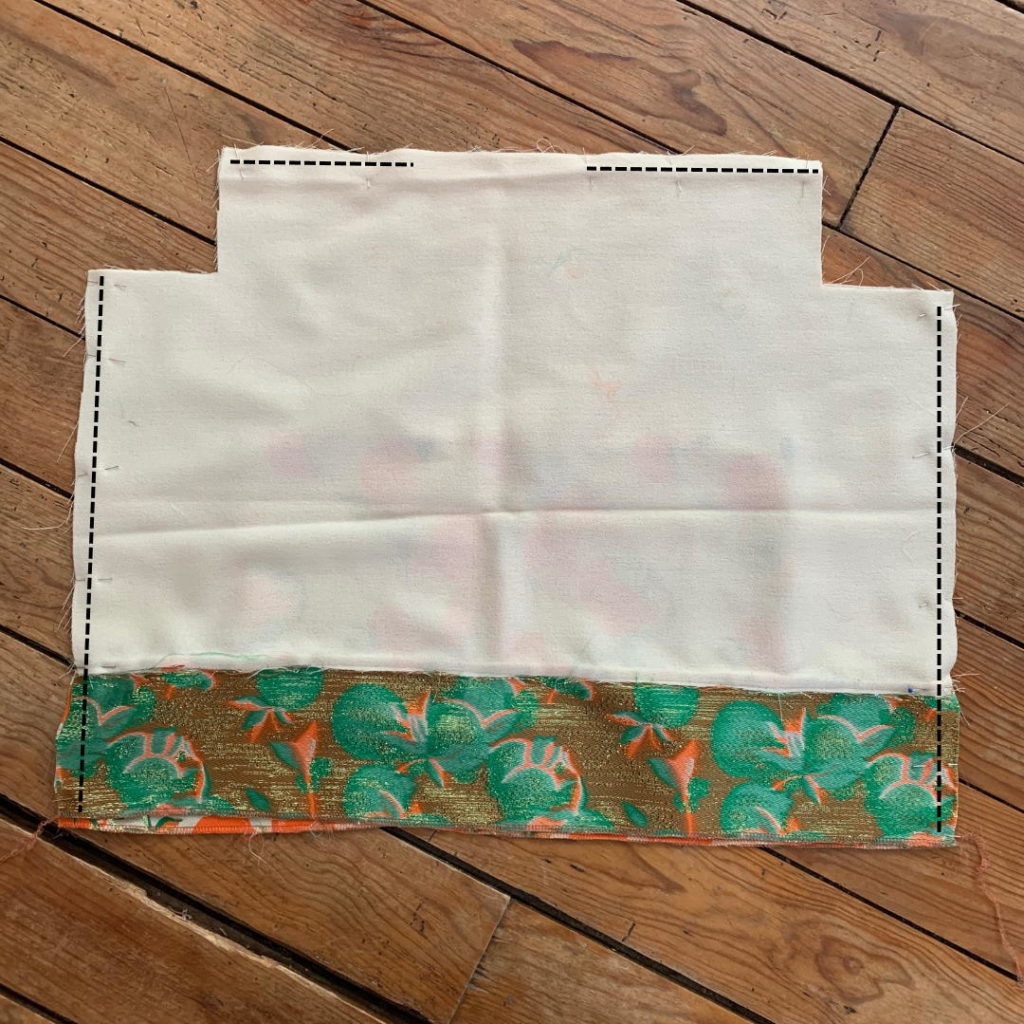
The lining is now ready to be assembled. Repeat step 2 with two small differences:
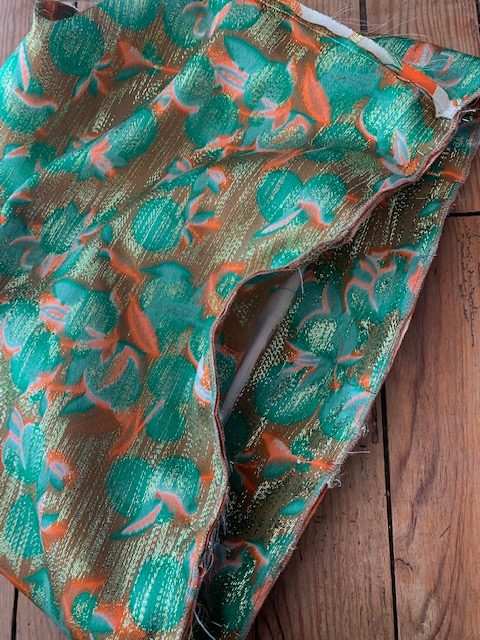
Leave a 15 cm opening at the bottom of the lining.
Make sure the side seams are aligned.
Step 5: Final assembly
At this stage, you have your outer bag, your lining, and your two handles, now let’s assemble everything together! 🙂
First, pin the handles inside the outer bag. Make sure they are correctly positioned and that the lengths are even. Stitch to hold them in place.
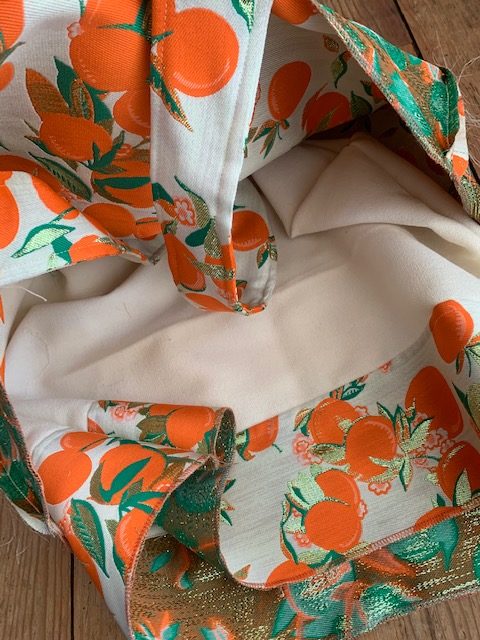
Slip the lining inside the outer bag so that right sides are together. The handles should be tucked between the two layers, and the side seams should line up.
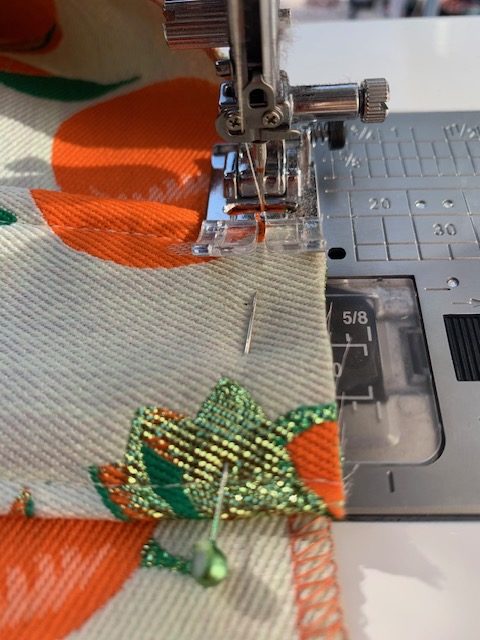
Stitch all around the top edge of the bag.
Magic is happening !
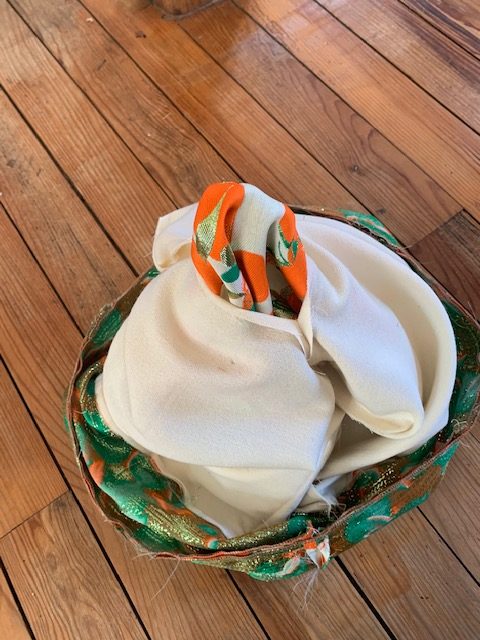
Pull the outer bag through the opening in the lining, then tuck the lining back inside the bag.
All that’s left to do is topstitch all around the top edge of the bag and close the opening in the lining.
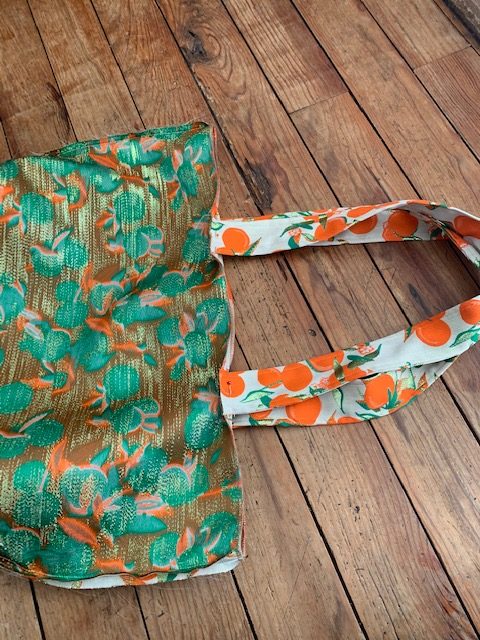
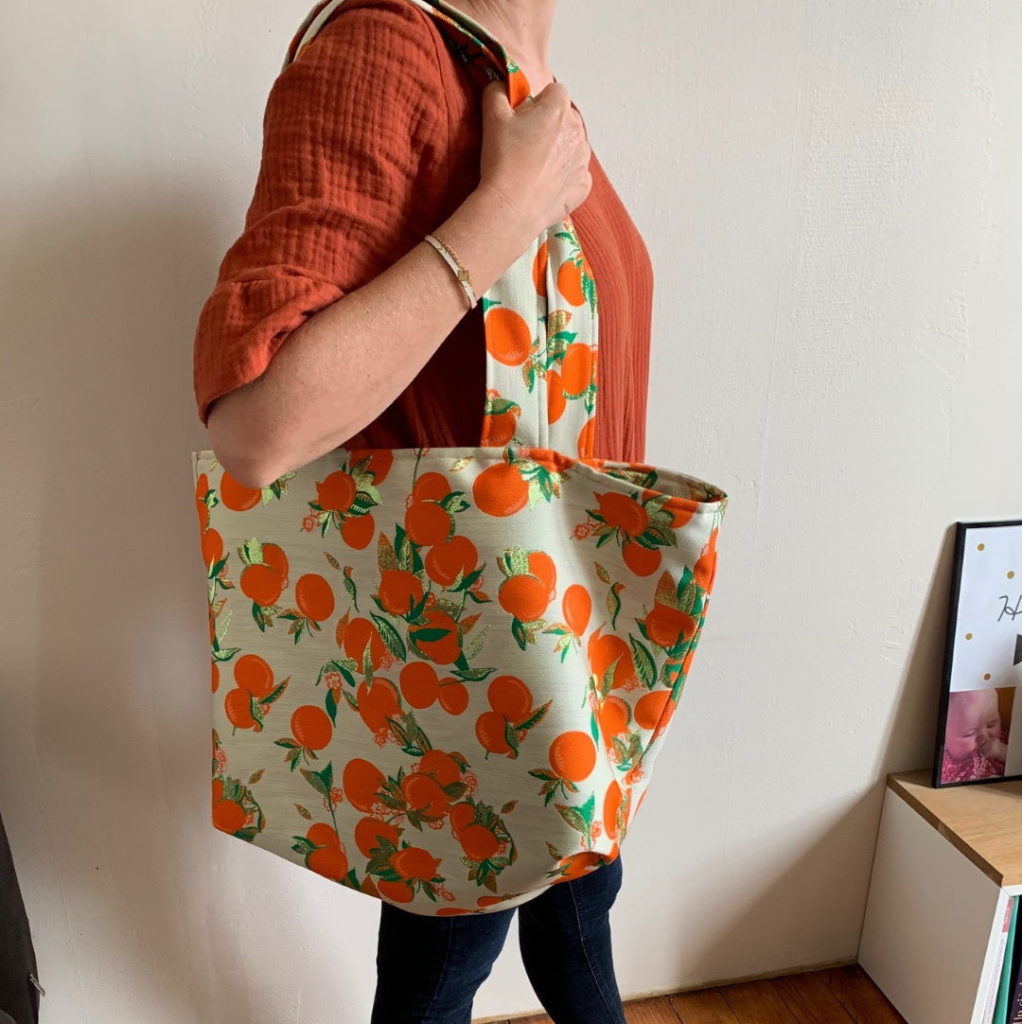
Ta-da! You can be proud of your work!!!
Have you just finished the large lining bag tutorial? We’d love to see your creation, feel free to share it on social media and tag us! #ruedesnuages #grandcabasruedesnuages.
Would you like some guidance with this project? You can join a sewing class at Rue des Nuages, we’d be delighted to welcome you!
Prefer to order instead? All the products available in my e-shop are lovingly handmade in my workshop in Bordeaux Bastide.